Sunday, June 29, 2014

Sew Kitschy Quilt Along June Block

I finished up my June block and also added borders and fixed other problems with the existing blocks so they all now measure 10 1/2" and nothing is bugging me (for now).  That's a relief!
The pitcher and cups block is for June

I added the word "cookies" on the photo of the cookie jar block in the Paint program (will embroider the real thing later)
Here are some anniversary flowers.  (Were any of you married on June 27th?)

Have you seen these orchids?
This one got broke so it gets it's own little vase.

The florist made a little bow of leaves.  The flowers look so perfect, they don't seem real!
Isn't that blue gorgeous?

Saturday, June 28, 2014

Pink and Plum Triangle Quilt

Pink and Plum Triangle Quilt all completed and presented to this high school graduate.

Thursday, June 26, 2014

Ombre Sewing Studio

I was one of many who jumped at the chance, when Lorna of Sew Fresh Quilts asked for pattern testers back in May.  

A reminder for the link up, spurred me to get it quilted and bound today.

I practiced some free motion quilting and got playful and stitched a green thread coming off the spool and meandering around and through the needle.

Check out Sew Fresh Quilts, for pattern information and to see the other versions of the Sewing Studio!
The pattern was to be sewn vertically, but because my attic sewing room has low ceilings and no long wall on which the vertical hanging would've fit, I sewed it horizontally, which also worked out nicely.

Quilt Doodle Hockey Skate blocks for June

For the June strip of blocks, I decided a patchwork background would add variety.


And here is the batik version:


Saturday, June 21, 2014

Needle Book Swap

I've joined Amy at Amy Made That for a needle book swap. Here's Amy's description, in case you're like me and wasn't sure what it is all about:
 A needle book is basically just
a pretty little sewing booklet 
with pages of fabric or felt,
for keeping pins and needles safe and handy.  
Sizes:  Small is 4 3/4" x 6"  Large is 6 x 8"


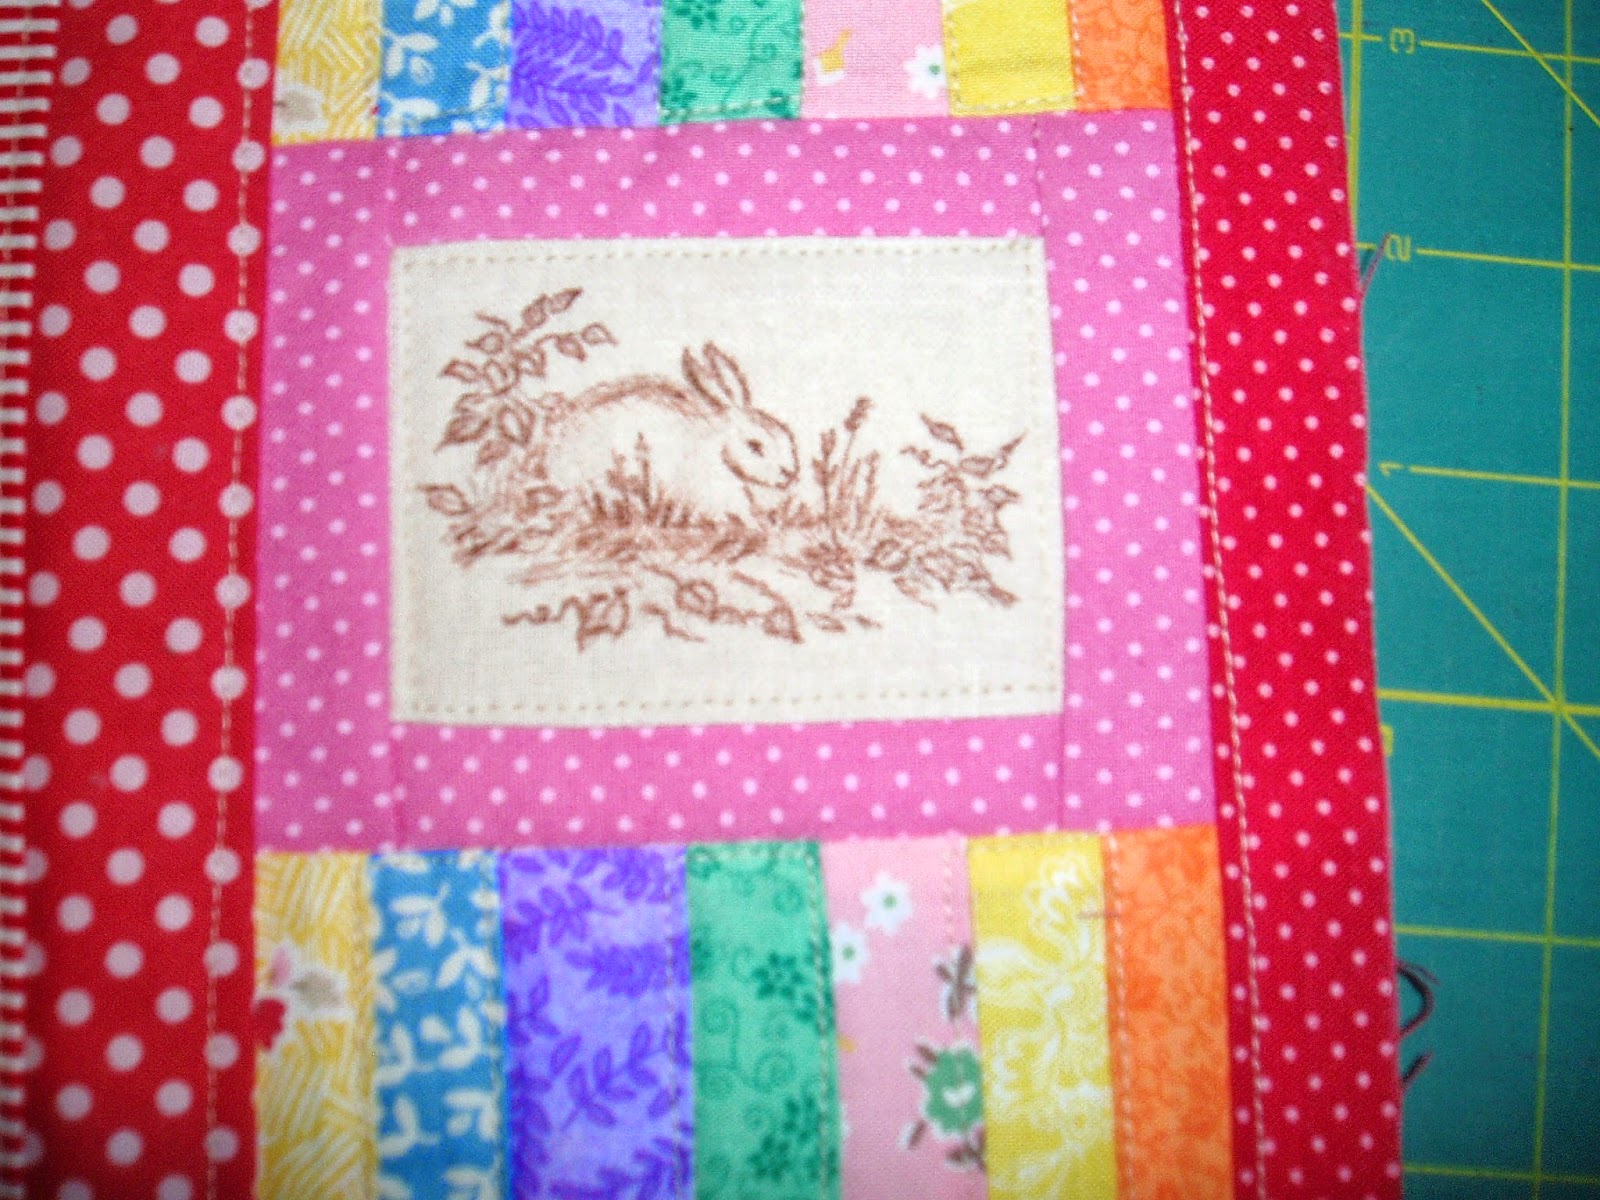
I decided to stamp a picture for the front of the needle book. I used fabric markers and linen look cotton.  The stamping didn't turn out too well, so I drew in many of the details with the Micron and Sharpie pens.  The micron worked best.  I ironed it afterwards to set the ink.
This one is playful in 30ish prints.

I put in a zipper pocket and double pockets that go across the inside lining.

Inside

Inside back has a sewn section for storing a pen.

Patchwork back.

My swap partner said she loves the creations found on the blog Pretty by Hand and so I wanted to make something a little more elegant too.

I also did a stamped image for this one and added some bead flowers.

Inside side pocket.

Felt pages

Zipper pocket in the back of this one.

Patchwork back.

It was more difficult to make these than I thought it would be, but fun to add special little touches.  If I make a dozen more, I may get better at it!  For now I'm going to see which one my swap partner might like the best and send it across the ocean to Greece tomorrow!

Since I was able to finish these up, I'm linking up with Crazy mom quilts, Finish it up Friday.  Also if you want to take a look at other needle books from the swap, stop by Amy's Flickr page.

Wednesday, June 18, 2014

Fabric stamping, organizing, and some Finishes etc


I made another watermelon table topper for another friend's birthday.

This time I used a machine decorative stitch for the quilting.  Click here to see where I updated my tutorial with the details.

I also did a leaf and vine design to quilt this plum and pinks triangle quilt.
Once again the Glide thread came through to help with my quilting.
Here I tried some fabric stamping by inking the stamp with a fabric marker.  I had to add many details with a micron pen to improve the stamped image, though.
More about this needle book project later


I've been following along a bit with Sherri at a Quilting Life because she's blogging about organizing sewing rooms and I read it with no hope of tackling my messes for now, but it must have registered in the back of my mind and little by little, I got quite a bit done lately.  I purchased this thread organizer from Amazon and it was fun to put the spools in rainbow color order.

I also went through my ribbons and organized them (this is just one of the drawers).  My daughter gave me this ribbon organizer (top of the pic) for Christmas a couple years ago and I'd never even took it out of the wrapper.  Now it's put to good use!
I sewed together this Quilt Studio wall hanging (but still need to finish it).  Pattern by Lorna at Sew Fresh Quilts
And I got this quilt all bound and gave it to a niece for her high school graduation.
Linking up with:
Amanda at Crazy Mom Quilts
Lee at Freshly Pieced
WIP Wednesday at Freshly Pieced
and Lorna at Sew Fresh Quiltshttp://sewfreshquilts.blogspot.ca/p/lets-bee-social.html

Saturday, June 7, 2014

Ombre Quilt Studio from Sew Fresh Quilts

Designed to hang vertically.

A horizontal configuration would also look nice.
 It was fun being a pattern tester!  Thanks Lorna!
I'm also working on sewing my triangle strips together since Paula at the Sassy Quilter is having a last chance link up for all those triangle quilts that weren't done by the original deadline.
TriangleQuiltAlongButton800
Have a great Day!

Sunday, June 1, 2014

Finished Watermelon Topper and Sunshine 16 progress on Purple Layer Cake


  I added some "seeds" and some labels to the watermelon topper to finish it up.  (Link goes to original post)
You may be interested in this next part if you have a Sunshine 16 midarm quilting machine or are thinking of purchasing one.  I've had mine for 2 years and had difficulty with it.  Recently I found another owner (Ronna Gilani) who lives about an hour away and she kindly invited me to her home and gave me some pointers.
Ronna's machine set up for my lesson.  Ronna's machine worked so smoothly for me and I got a little better idea about adjusting tension, thread, moving the machine.  So if you're having trouble, you might see if there is another owner nearby that could help.

Ronna and me.  You can see Ronna's quilts at Dancing Lady Quilts on Facebook.  She will have a booth at the Piecemakers  of Southern Alameda County Quilt Show in Newark, CA    Links included to Ronna's facebook page and info. on the Piecemakers quilt show.


When I got home I loaded one of my purple sampler quilts.  One of my main problems is thread breaking.  Ronna's Tip #1 is to use Glide thread and she gave me a spool.  Sure enough you can see that I was able to start quilting swirls right off the bat.

I was able to quilt the whole thing in about 3 hours.  The pattern I attempted to follow is from Wendy at Ivory Spring-- her Thread Talk #12 Swirly Swirls.  I love to see Wendy's thread talk tutorials!


It's far from perfect and I did still have the thread break on occasion but the experience was a hundred times better than usual!  And I have hope of improving.
Ronna encouraged me to move the machine in a very controlled motion to make sure the stitches are very even and I knew that, but I like now that when I start going too fast and the stitches get long, I hear Ronna's voice in my head, reminding me.

Needless to say, I went online and purchased a bunch of Glide thread.  It's polyester and shiny and fine to the touch!  I've included a lot of links in this post and want to clarify that I do not sell or make any money or get any compensation of any sort from posting to this blog.  Links are FYI only.

Maple Leaf Block Instructions

To make the 9 1/2 inch maple leaf blocks:   Some basic instructions HSTs cut each, background and color 3 7/8” squares (cut diagonally once)...