Note: See the section with cutting instructions for yardage requirement update but beware as amounts haven't been tested.
Popular Log Cabin Quilt, fabric by Maywood Studio
 |
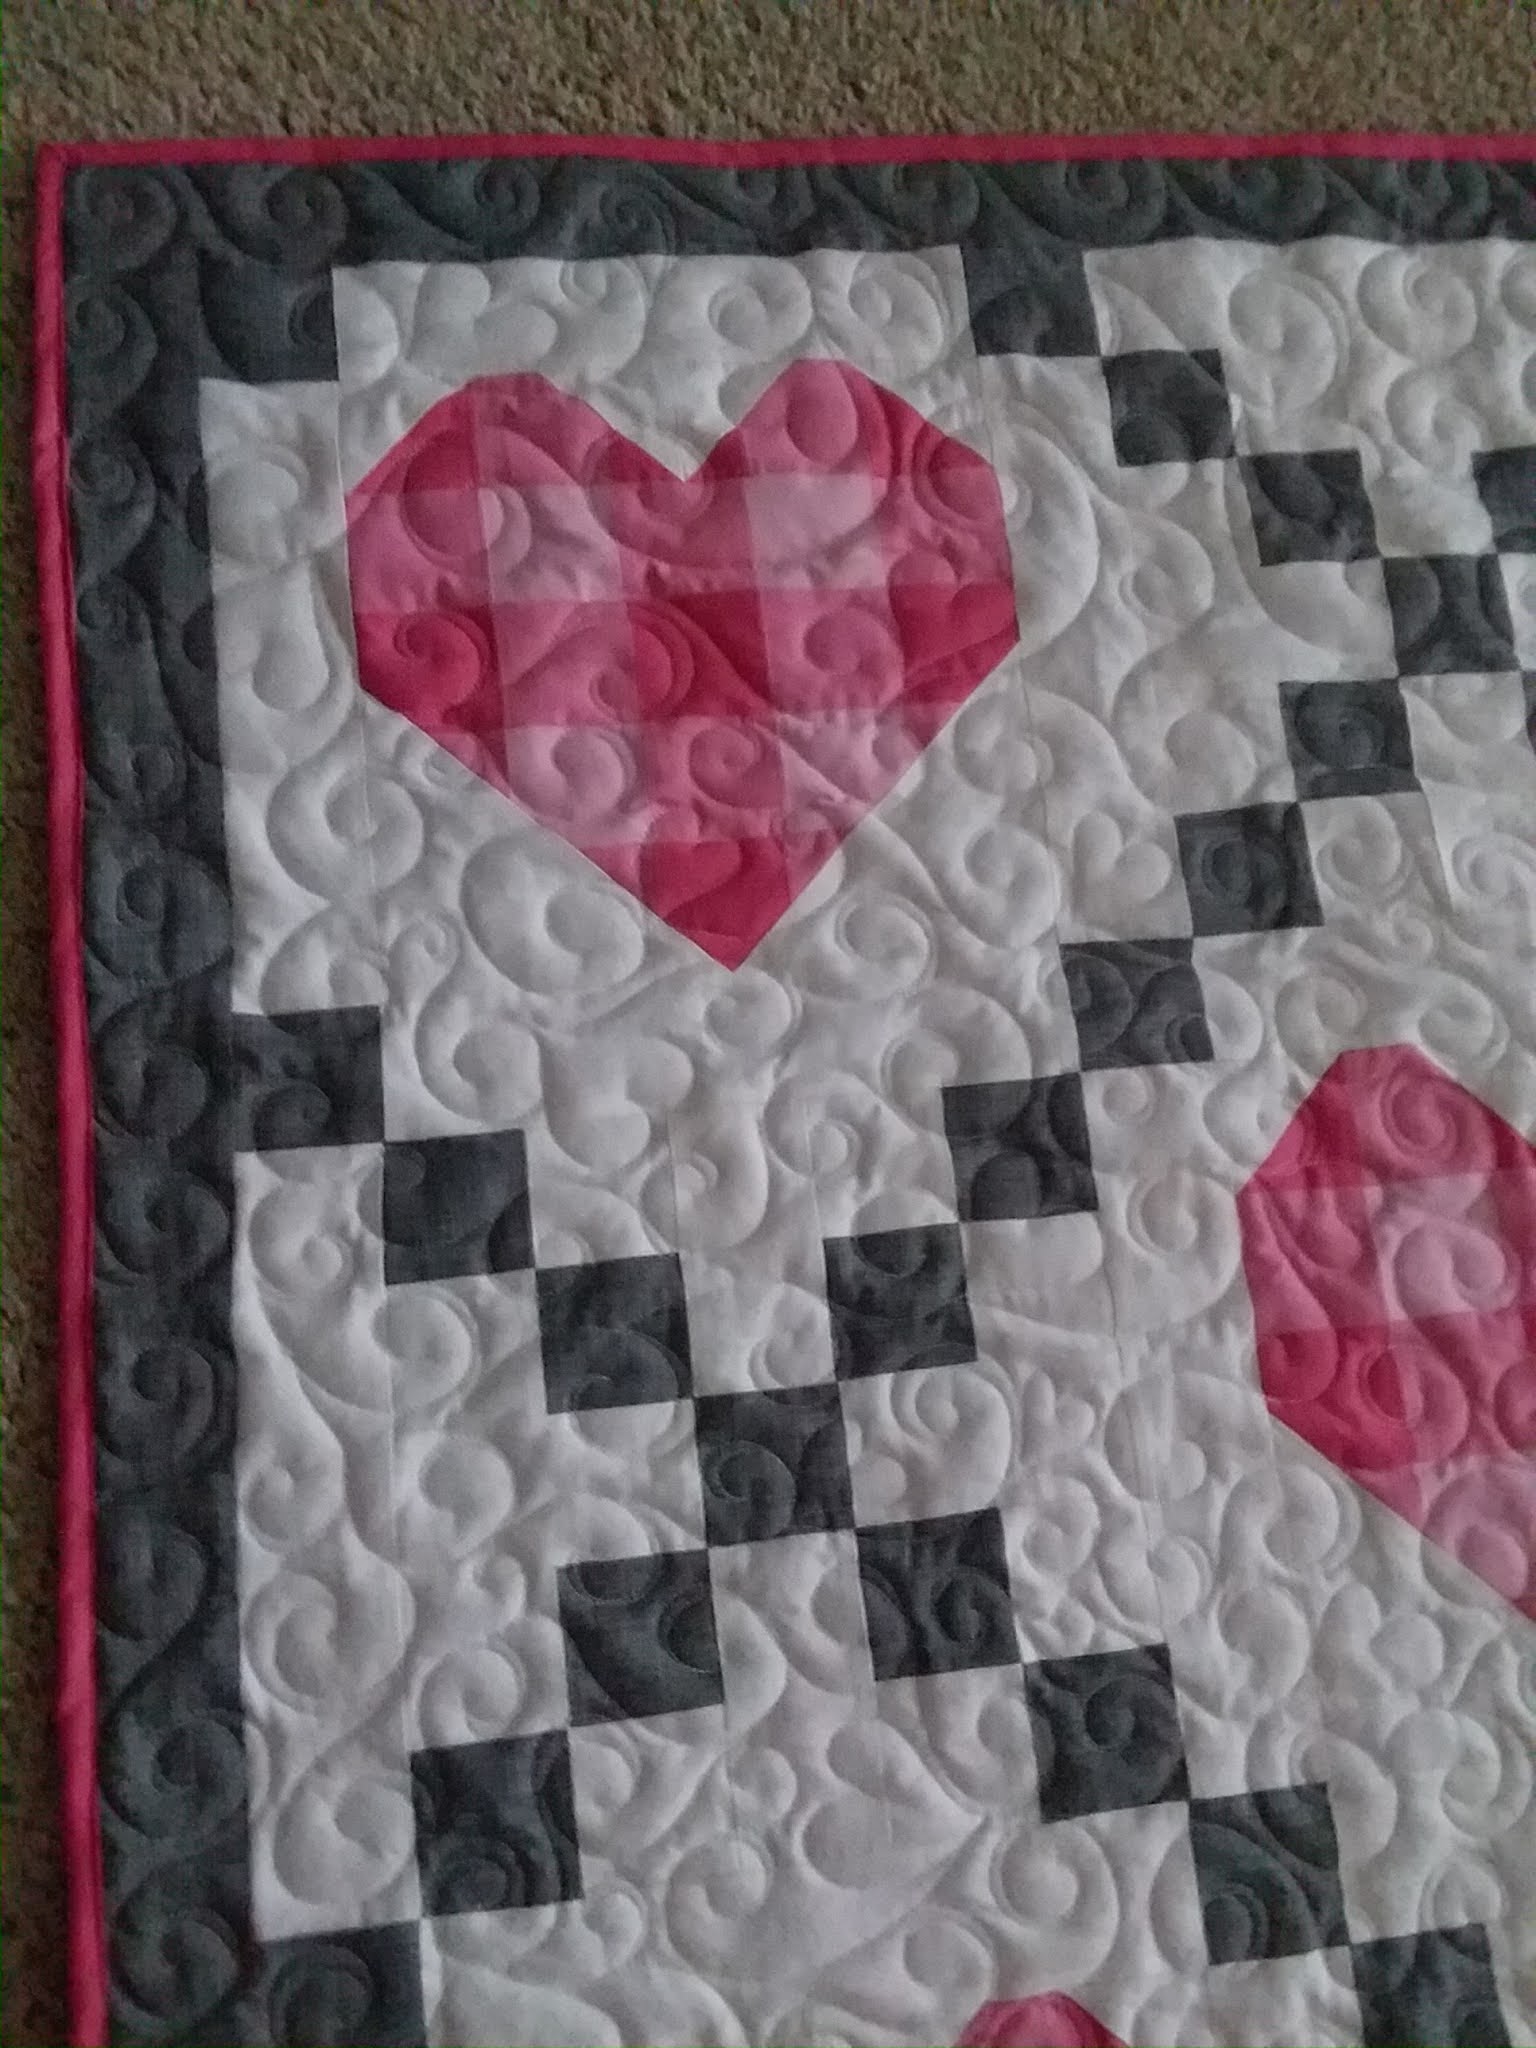
| My manager made this quilt top and I quilted it, for a coworker. Several people have asked about a tutorial for the block, which follows here. The first border is 3", the little pink border is 1 1/2" and the outer border is 6". |
I found some similar fabrics but rusty red and peach tones instead of pink. Here are instructions to make this 12 1/2" log cabin block (12" finished)
Gather your fabrics. I'm using 11 different fabrics.
 |
Press Your fabrics using a little steam and/or starch, being careful not to stretch the fabric. This will help prevent it from shrinking after you cut, sew, and press it.
|
 |
| Cut your strips. The center is 2 1/2" and all other fabrics are 1 1/2" so cut strips the width of the fabric. You'll need 3 or 4 or 5 of these strips depending upon how many blocks you are making. |
I'm a fan of strip sewing, but you could also cut your strips into the following sizes. Cut one each of the following for each block.
Update: A reader requested the yardage requirements, so I am doing some calculations, but I haven't tested these calculations so double check on your own for accuracy. Yardage is based on a width of fabric (WOF) being 42", making a quilt 72 x 96" aka (48) 12" blocks, and assuming very little waste and no mistakes. Also fabric amounts DO NOT include borders, binding, or backing
1. Center: 2 1/2" square: 1/4 of a yard, cut into 2 1/2" x WOF strips
2. First light fabric 1 1/2 x 2 1/2" strip and 1 1/2 x 3 1/2" strips: 1/3 of a yard cut into 1 1/2" x WOF strips (note: cut all the rest of the strips 1 1/2" x WOF)
3. Second light fabric 1 1/2 x 3 1/2 strip and 1 1/2 x 4 1/2" strips (note: this is to surround the middle block for contrast, all other strips will be on their respective light or dark side): 1/2 of a yard
4. First dark fabric 1 1/2 x 4 1/2 and 1 1/2 x 5 1/2" strips: 1/2 of a yard
5. Third light fabric 1 1/2 x 5 1/2 and 1 1/2 x 6 1/2" strips: 5/8 of a yard
6. Second dark fabric 1 1/2 x 6 1/2 and 1 1/2 x 7 1/2" strips: 2/3 of a yard
7. Forth light fabric1 1/2 x 7 1/2 and 1 1/2 x 8 1/2" strips: 1 yard
8. Third dark fabric 1 1/2 x 8 1/2 and 1 1/2 x 9 1/2" strips: 1 yard
9. Fifth light fabric 1 1/2 x 9 1/2 and 1 1/2 x 10 1/2" strips: 1 yard
10. Forth dark fabric 1 1/2 x 10 1/2 and 1 1/2 x 11 1/2" strips: 1 1/4 yards
11. Sixth light fabric 1 1/2 x 11 1/2 and 1 1/2 x 12 1/2" strips: 1 1/3 yards
(Note: I was just thinking, to preserve the fabrics you use to make the 1 1/2 x 11 1/2 and the 1 1/2 x 12 1/2" strips in #10 & #11, cut your strips 1 1/2 x 38" and that will leave the remaining fabric in larger pieces, so you aren't wasting or having so much left over, narrow strips.)
Okay that was stressful knowing some of you may rely on these calculations and I may have made a mistake so please, please, double check on your own!!!
 |
| Sew the 2 1/2" strip to your first 1 1/2" strip and then cut into 2 1/2" sections. Next you will sew another 1 1/2" strip (the same fabric to one side) and then cut and trim into 3 1/2" squares (see the picture). |
Your next strips will also be light to frame the center block.
 |
Sew the 3 1/2" squares onto the 2nd light 1 1/2 strip (or 1 1/2 x 3 1/2" strip)
|
 |
| Cut apart into 3 1/2 x 4 1/2" sections |
 |
| Sew on the next strip (same fabric), press open, cut into 4 1/2" squares |
 |
| Now you will sew on your first dark 1 1/2" strip, press open, and square up to 4 1/2 x 5 1/2" (remember when squaring up to make sure the center 2 1/2" square is centered) |
 |
| Sew the next strip (same fabric), press open, cut into 5 1/2" squares |
 |
| Next is your 3rd light strip; follow steps as before (block will be 6 1/2") and then the 2nd dark strips and at this point you will have a 7 1/2" square |
 |
| You can see how I'm sewing each block to the long strip here in assembly line fashion. |
 |
| With the next set of light and dark strips, the big square is now 9 1/2" |
 |
| Here you can see a row in graduated sizes, this big square is now 10 1/2" |
 |
| 10 1/2" square |
 |
| Here is my new Laura Star steam iron. My neighbor had raved about hers and she let me demo it and it was wonderful! I never thought I'd spend so much on an iron, but when my iron broke last week, I decided to splurge! |
With the final two set of light and dark strips, you now have a 12 1/2" block
Let me know if you have any questions and hopefully I haven't made mistakes in my instructions!


