Saturday, May 25, 2013

New projects

I know 3 baby boys that will be born soon and I got this "under construction" charm pack from the Missouri Star Quilt Company and decided to add some primary colors and make zig zag baby quilt/play mats for each one.

Aren't the fabrics so colorful and artistic!

This is a quilt I've been making for a senior girl who will graduate and come into the women's organization of our church.  It is our tradition to give them a quilt as a welcome gift.  

At first I was going to use white corner stones and charm square size blocks but then changed my mind and used the red and pink cornerstones and bigger 8 inch squares and so put this part into the back of the quilt.  You can see the meandering quilting.  I wanted to do coencentric circles but due to my inexperience and/or my machine, I couldn't get it to work.  Need much more practice.  But the meandering pattern is nice too.

Even a pillow case to  match.

Trimmed it in bright green

Thursday, April 25, 2013

Zig Zag table runner complete!

Today I'm going to visit a friend whose husband had a stroke.

She has been having some modifications done to her home in preparation for him coming home (he's doing pretty well by the way).


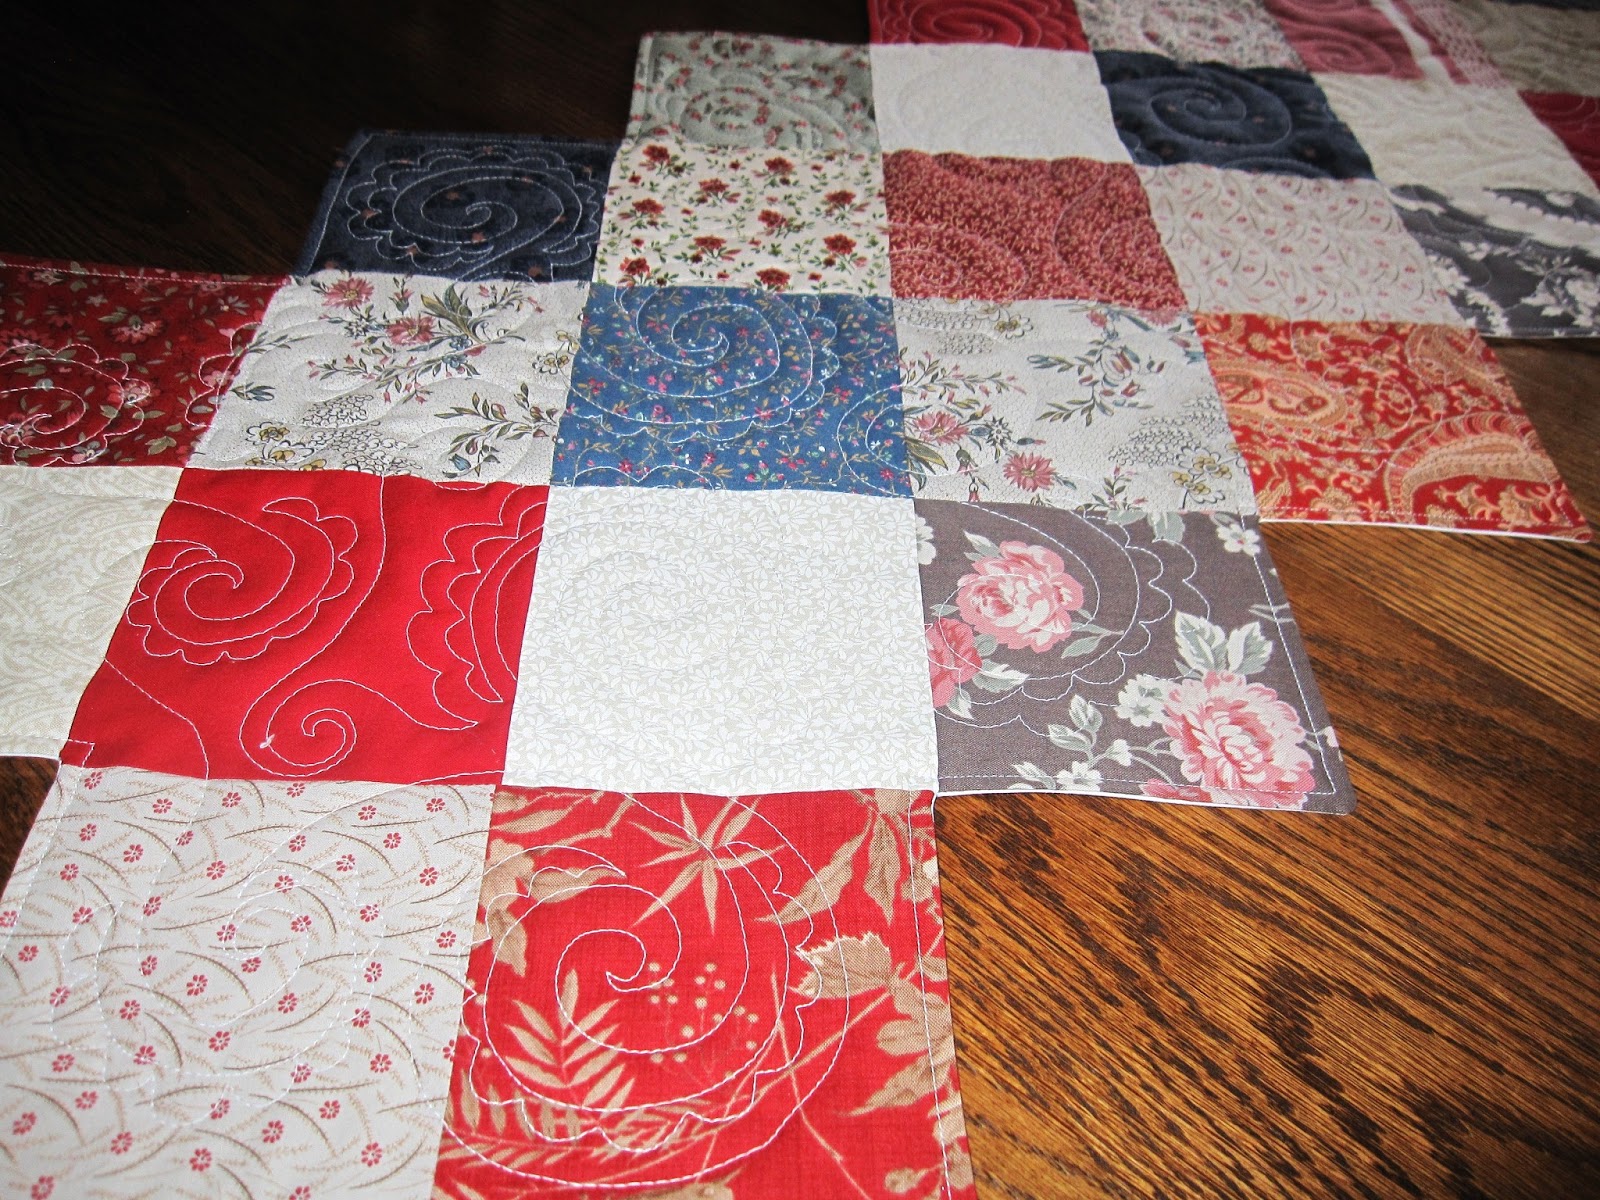
I decided to complete this zig zag table runner and take to her when I visit.  It really turned out great!  This is made with charm squares and I used the pillow case method as instructed on the Missouri Star tutorial and then topstitched 1/4 inch all around and then did some free motion quilting too.
You can see the swirling, paisley free motion design on back.

Wednesday, April 24, 2013

Lots of stuff to show you! Finished some projects and started new ones and a little spring cleaning too!


Postage stamp quilt top I started last year.  Still need to add a 4 inch border and it will be a queen size.  I'm thinking prairie points or scalloped red print border.

 I finished this baby quilt last week.  Some of the fabric is from the story book classics and is quilted in a meandering style.

I was doing some cleaning and organizing (but still need to work on that some more).  But here is  a pleasant shelf display.  I love when fabrics are color coordinated and bundled and tied with a ribbon in a basket.  I will change this  as the season changes.  The "Peeps into Fairyland" is a darling pop up book my mom gave me long ago.  It is by Ernest Nestor and has darling victorian looking drawn pictures that pop up to illustrate some childrens stories.  The little Happy quilting picture was cross stitched and a gift from a friend from work.

If you look closely you can see a brown bunny!

Love pink and green rosebuds for spring!

I saw this tutorial for a zigzag table runner on the Missouri Star Quitling Company tutorials.  Check them out.  They have lots of wonderful tutorials and also a quilter's daily deal (that's where I got my Socky layer cake you'll see soon).

I made this little quilt top last year and finished it today for little Sage.  I was previously making her the polar bear print from Susan Winget but winter passed and I didn't like the pink and white pinwheels with the polar bear fabric (the white didn't go).  So I quilted this with little butterflies with free motion quilting on my domestic machine and I call it "bright color window panes".


This is the Happy Birthday table topper I started in January.  I adjusted the photo's contrast and brightness and isn't it interesting how vivid the stitching looks?  http://howsweetthesound.typepad.com/my_weblog/

Again I adjusted the color saturation and probably made it a little too pink!

In each corner is a cupcake!

From above you can see the 9 patch in the center and the hearts and some of the stitching.

The backs are also interesting to look at and see the stitching details.


This is the back of Sage's baby quilt with the butterfly stitching.

I was also working on some bunny 9 patches but put them away to work on for next year.

Heres the Socky layer cake.  I saw a quilt made by Ivory Spring that was so cute that when I saw this on sale at Missouri Star Quilt company I just had to get it!

A few other prints in the pack.

Tuesday, April 2, 2013

Sheep Shearing Day

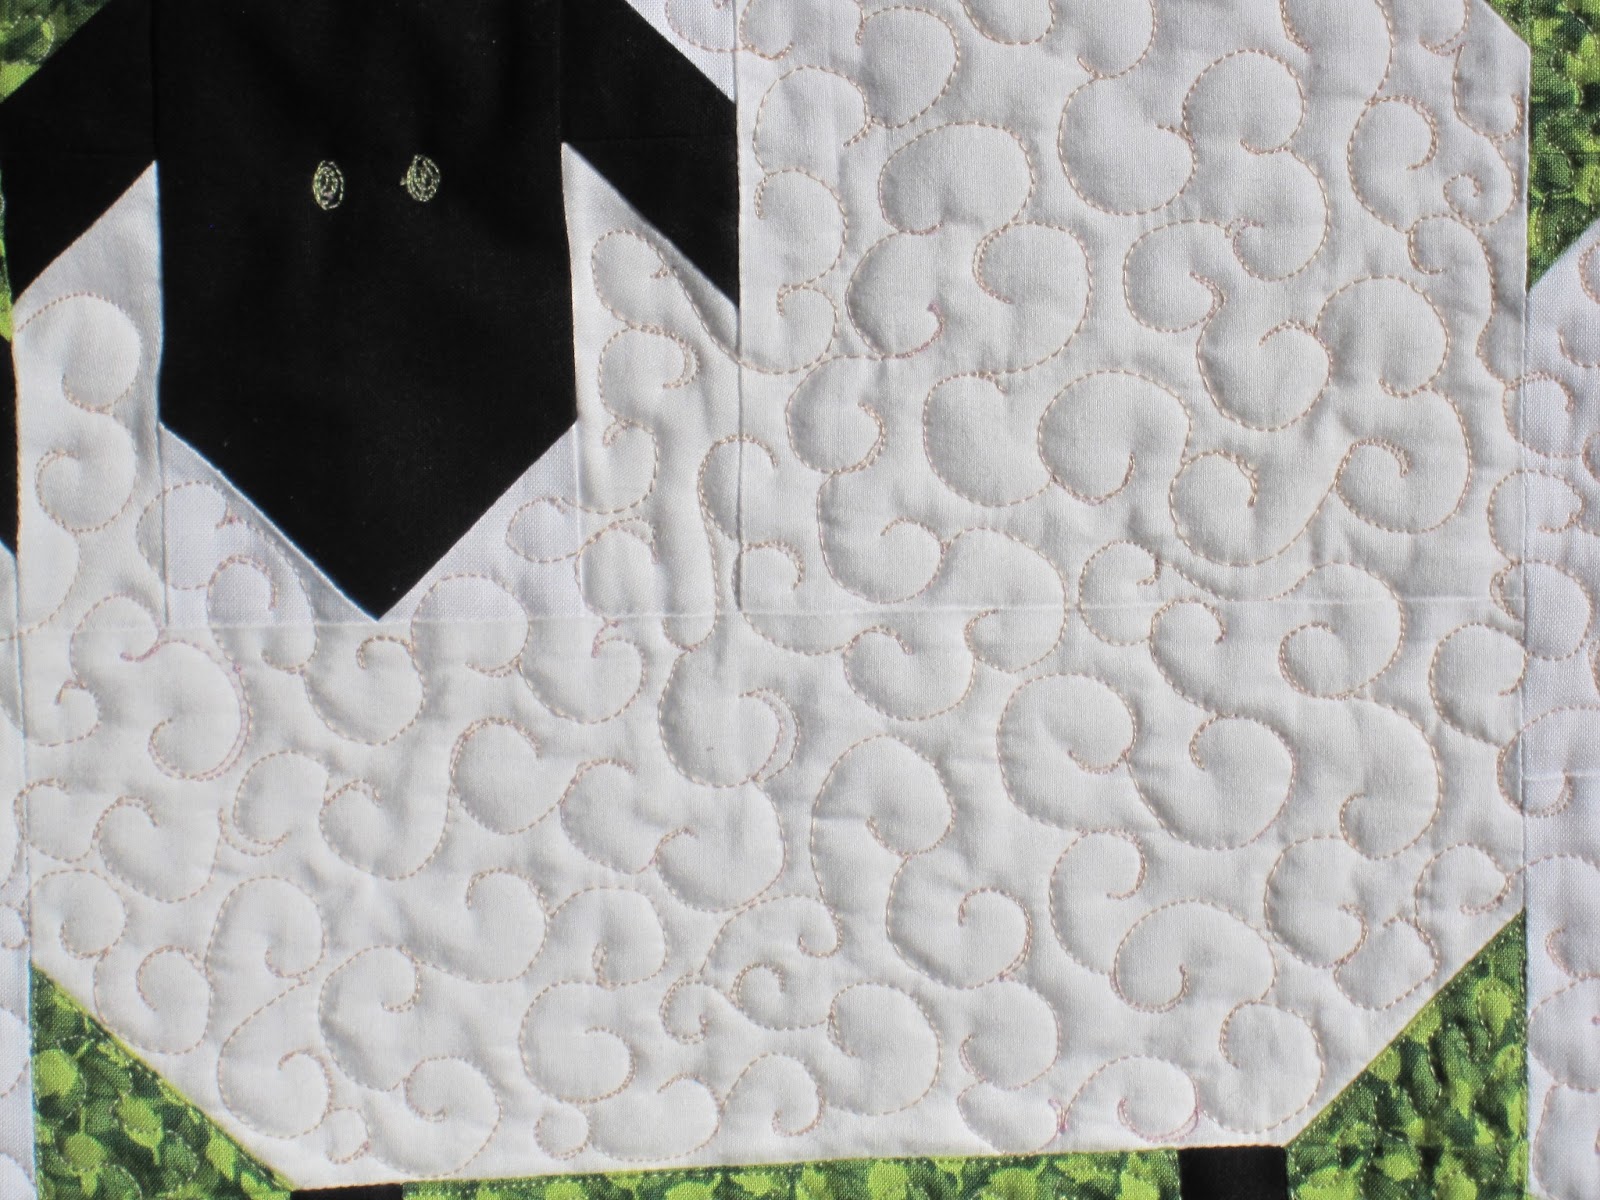
The quilt guild meeting (the Piecemakers) begins in about an hour and I've finally completed the table runner I'm donating for the raffle.   I've named it "Sheep Shearing Day".   Ardenwood, a local community run farm/ranch will host sheep shearing day later this month and there will be all sorts of festivities where people dress in pioneer clothing and there is food, booths and music from the time period.  It's very fun!  I'll be selling tickets for the yearly opportunity quilt which will be raffled off at the end of the year.

Here you can see the curlique stitching and  I just sewed a filled in circle for the eyes.

This is lovely with the pansies in the foreground!

In the garden with the sunshine you can see the quilting well.  This was quilted using free motion quilting on my domestic sewing machine.

Love the way the sunlight and shadows highlight the quilting.

Sunday, March 17, 2013

I'm making a sheep wall hanging for the guild raffle for April.  I made some quilt blocks and auditioning colors to see which background color to use.

Doesn't it sort of look like they're standing in the meadow?

I need to buy some little buttons for the eyes.  Or maybe embroider them?

I saw this quilt pattern and I loved it called Sew Little Time made with one quilt block and rotated back and forth.  They used a fabric line called Mama Said Sew by Sweetwater for Moda.  I loved it and pulled out some fabrics from my stash and got a few more from Joanne to mimic the one I saw on Pinterest.  It was made with cream color instead of white but the fabrics I had needed the sashing to be white.

I'm looking forward to getting this on the quilting frame!
Since I never posted LED's finished rainbow heart quilt, I took some pictures today.  Here is Sky posing with the quilt.

Here is BLR (my niece, posing with the quilt and a lovely purple petunia which came back from last summer.

BLR, LED and Sky.

Sky's got nice white teeth! 

One more outside.

This quilt was washed and now has the nice bit of crinkliness!  Don't you love the rainbow colors !

You've heard of the cat in the hat?  Here is the cat in the bag!   Ready to pounce!

The Boy Scouts had a potluck/ cake auctioin fundraiser.  I made this bunny cake with 2 round pans (you cut the ear shapes from a round and then you have the shape of the bow tie.

This rainbow heart quilt is also an I Spy quilt.  Can you spot something for today's holiday?
Update 2018:  Some instructions for making this quilt
Debra asked for some pointers and so I typed up a few instructions and figured I'd update this orignial post in case anyone else is interested.
 I really still love this quilt  My daughter uses it for her 10 month old baby son to sit on with his toys.  It's well washed and a little faded but still charming!
    Here are a few instructions:
The squares finish at 1 1/2" (so 2" unfinished).  Originally, I started with scrappy long strips of one color family and made the hearts each in one colorway with complementary color borders (like a scrappy purple heart would have a green border) but when my daughter saw the blocks, she said, I thought you were going to make the hearts multi color and so I took apart parts of the blocks and put them back together with another color block and they mostly have just 2 or 3 colors, but you can still see some strips of greens, yellows, or purples in the background of each block, which helps the hearts to stand out.
    I did sew about 3 strips together and then sliced them up so I was rarely actually sewing little 2" squares together (too time consuming).
For Each Block
1.  Gather colorful scraps and cut into 2" strips (or you could make them wider)  Divide the colors into "heart" and "background" colors. Just make sure that your background colors are different than your heart colors for each block.  You can have hearts and backgrounds in the same color, just not in the same block.  
2.  Make a 9 patch from heart colors
3.  Make two heart corners.  Two strips of 3 squres with half square triangle on two corners.  One of the half square triangles needs to be of heart color and one of background color.
4.  A background four patch in the top (one square makes the V indent of the heart)
5.  A background border 
6.  Sew all sections together
7.  Make as many blocks as you wish.  I put mine together on point.

Sunday, February 10, 2013

A big cat on a red and white quilt;  found a cat on the bed and had to add some cat on the quilt pictures!


Curled up and comfy!


I started sewing long strips of fabric together to use as a quilt back but found it cute enough for a quilt top.  Here I've branched out with a new quilt design, other than meandering and it actually turned out pretty good.

sort of a leaf and rose pattern

here you can see several different patterns in each strip

Here you can see my first feathers

Here's the quilt on the bed.  Very Valentiny!

Some Late Valentine Sewing (I forgot to post on time

I made a couple of these to give as gifts. See the links for some instructions I used the Moda Block Heads 3 block by Lissa Alexander and I...