For the June strip of blocks, I decided a patchwork background would add variety.


And here is the batik version:


And here is the batik version:
 |
| Sizes: Small is 4 3/4" x 6" Large is 6 x 8" |
 |
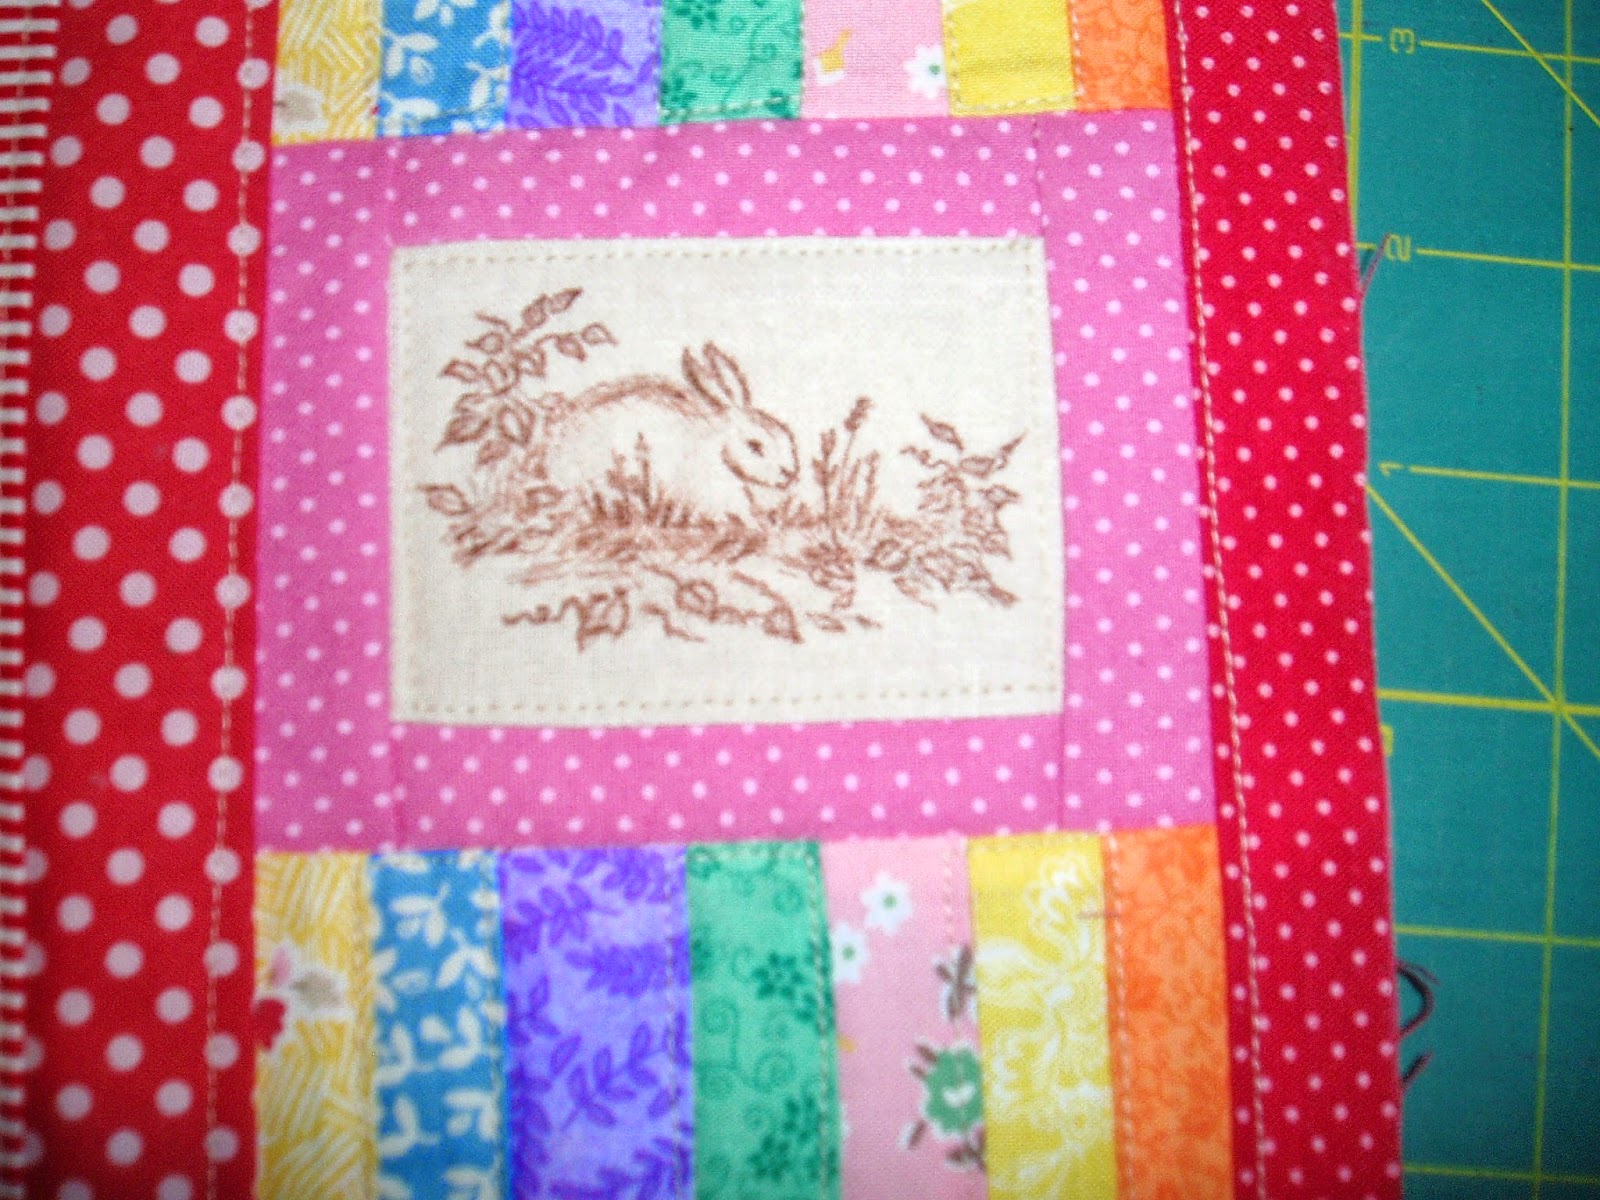
| I decided to stamp a picture for the front of the needle book. I used fabric markers and linen look cotton. The stamping didn't turn out too well, so I drew in many of the details with the Micron and Sharpie pens. The micron worked best. I ironed it afterwards to set the ink. |
 |
| This one is playful in 30ish prints. |
 |
| I put in a zipper pocket and double pockets that go across the inside lining. |
 |
| Inside |
 |
| Inside back has a sewn section for storing a pen. |
 |
| Patchwork back. |
 |
| My swap partner said she loves the creations found on the blog Pretty by Hand and so I wanted to make something a little more elegant too. |
 |
| I also did a stamped image for this one and added some bead flowers. |
 |
| Inside side pocket. |
 |
| Felt pages |
 |
| Zipper pocket in the back of this one. |
 |
| Patchwork back. |
 |
| I made another watermelon table topper for another friend's birthday. |
 |
| This time I used a machine decorative stitch for the quilting. Click here to see where I updated my tutorial with the details. |
 |
| I also did a leaf and vine design to quilt this plum and pinks triangle quilt. |
 |
| Once again the Glide thread came through to help with my quilting. |
 |
| Here I tried some fabric stamping by inking the stamp with a fabric marker. I had to add many details with a micron pen to improve the stamped image, though. |
 |
| More about this needle book project later |
 |
| I've been following along a bit with Sherri at a Quilting Life because she's blogging about organizing sewing rooms and I read it with no hope of tackling my messes for now, but it must have registered in the back of my mind and little by little, I got quite a bit done lately. I purchased this thread organizer from Amazon and it was fun to put the spools in rainbow color order. |
 |
| I also went through my ribbons and organized them (this is just one of the drawers). My daughter gave me this ribbon organizer (top of the pic) for Christmas a couple years ago and I'd never even took it out of the wrapper. Now it's put to good use! |
 |
| I sewed together this Quilt Studio wall hanging (but still need to finish it). Pattern by Lorna at Sew Fresh Quilts |
 |
| And I got this quilt all bound and gave it to a niece for her high school graduation. Linking up with: Amanda at Crazy Mom Quilts Lee at Freshly Pieced  and Lorna at Sew Fresh Quilts  |
 |
| Designed to hang vertically. |
 |
| A horizontal configuration would also look nice. |

 |
| Linking up to Finish it up Friday with Amanda Jean of Crazy Mom Quilts |
 |
| I'm also working on sewing my triangle strips together since Paula at the Sassy Quilter is having a last chance link up for all those triangle quilts that weren't done by the original deadline. |


 I added some "seeds" and some labels to the watermelon topper to finish it up. (Link goes to original post)
 |
| Ronna's machine set up for my lesson. Ronna's machine worked so smoothly for me and I got a little better idea about adjusting tension, thread, moving the machine. So if you're having trouble, you might see if there is another owner nearby that could help. |
 |
| Ronna and me. You can see Ronna's quilts at Dancing Lady Quilts on Facebook. She will have a booth at the Piecemakers of Southern Alameda County Quilt Show in Newark, CA Links included to Ronna's facebook page and info. on the Piecemakers quilt show. |
.jpg) |
| When I got home I loaded one of my purple sampler quilts. One of my main problems is thread breaking. Ronna's Tip #1 is to use Glide thread and she gave me a spool. Sure enough you can see that I was able to start quilting swirls right off the bat. |
 |
| I was able to quilt the whole thing in about 3 hours. The pattern I attempted to follow is from Wendy at Ivory Spring-- her Thread Talk #12 Swirly Swirls. I love to see Wendy's thread talk tutorials! |
 |
| Ronna encouraged me to move the machine in a very controlled motion to make sure the stitches are very even and I knew that, but I like now that when I start going too fast and the stitches get long, I hear Ronna's voice in my head, reminding me. |
.JPG) |
| I still need to buy some black embroidery floss to add some "seeds". |
 |
| I made another watermelon topper and did it a little different so will include some instructions in my tutorial for version B. |
 |
| Click here to learn to make your own! |
 |
| Here is the pattern by Shelley Robson at All People Quilt, that Yvonne used. |
 |
| I changed the style a bit. |
 |
| It's so nice of Kristie of Quiet Play to share her wonderful talent. The May block is available for free through the end of the month. |


I made a couple of these to give as gifts. See the links for some instructions I used the Moda Block Heads 3 block by Lissa Alexander and I...


