I found this post unpublished so figure I'll go ahead and publish it for now and I'll do another one next fall when I add the binding.
I see I put in a few cutting instructions and you can see a bit of my creative process.
 |
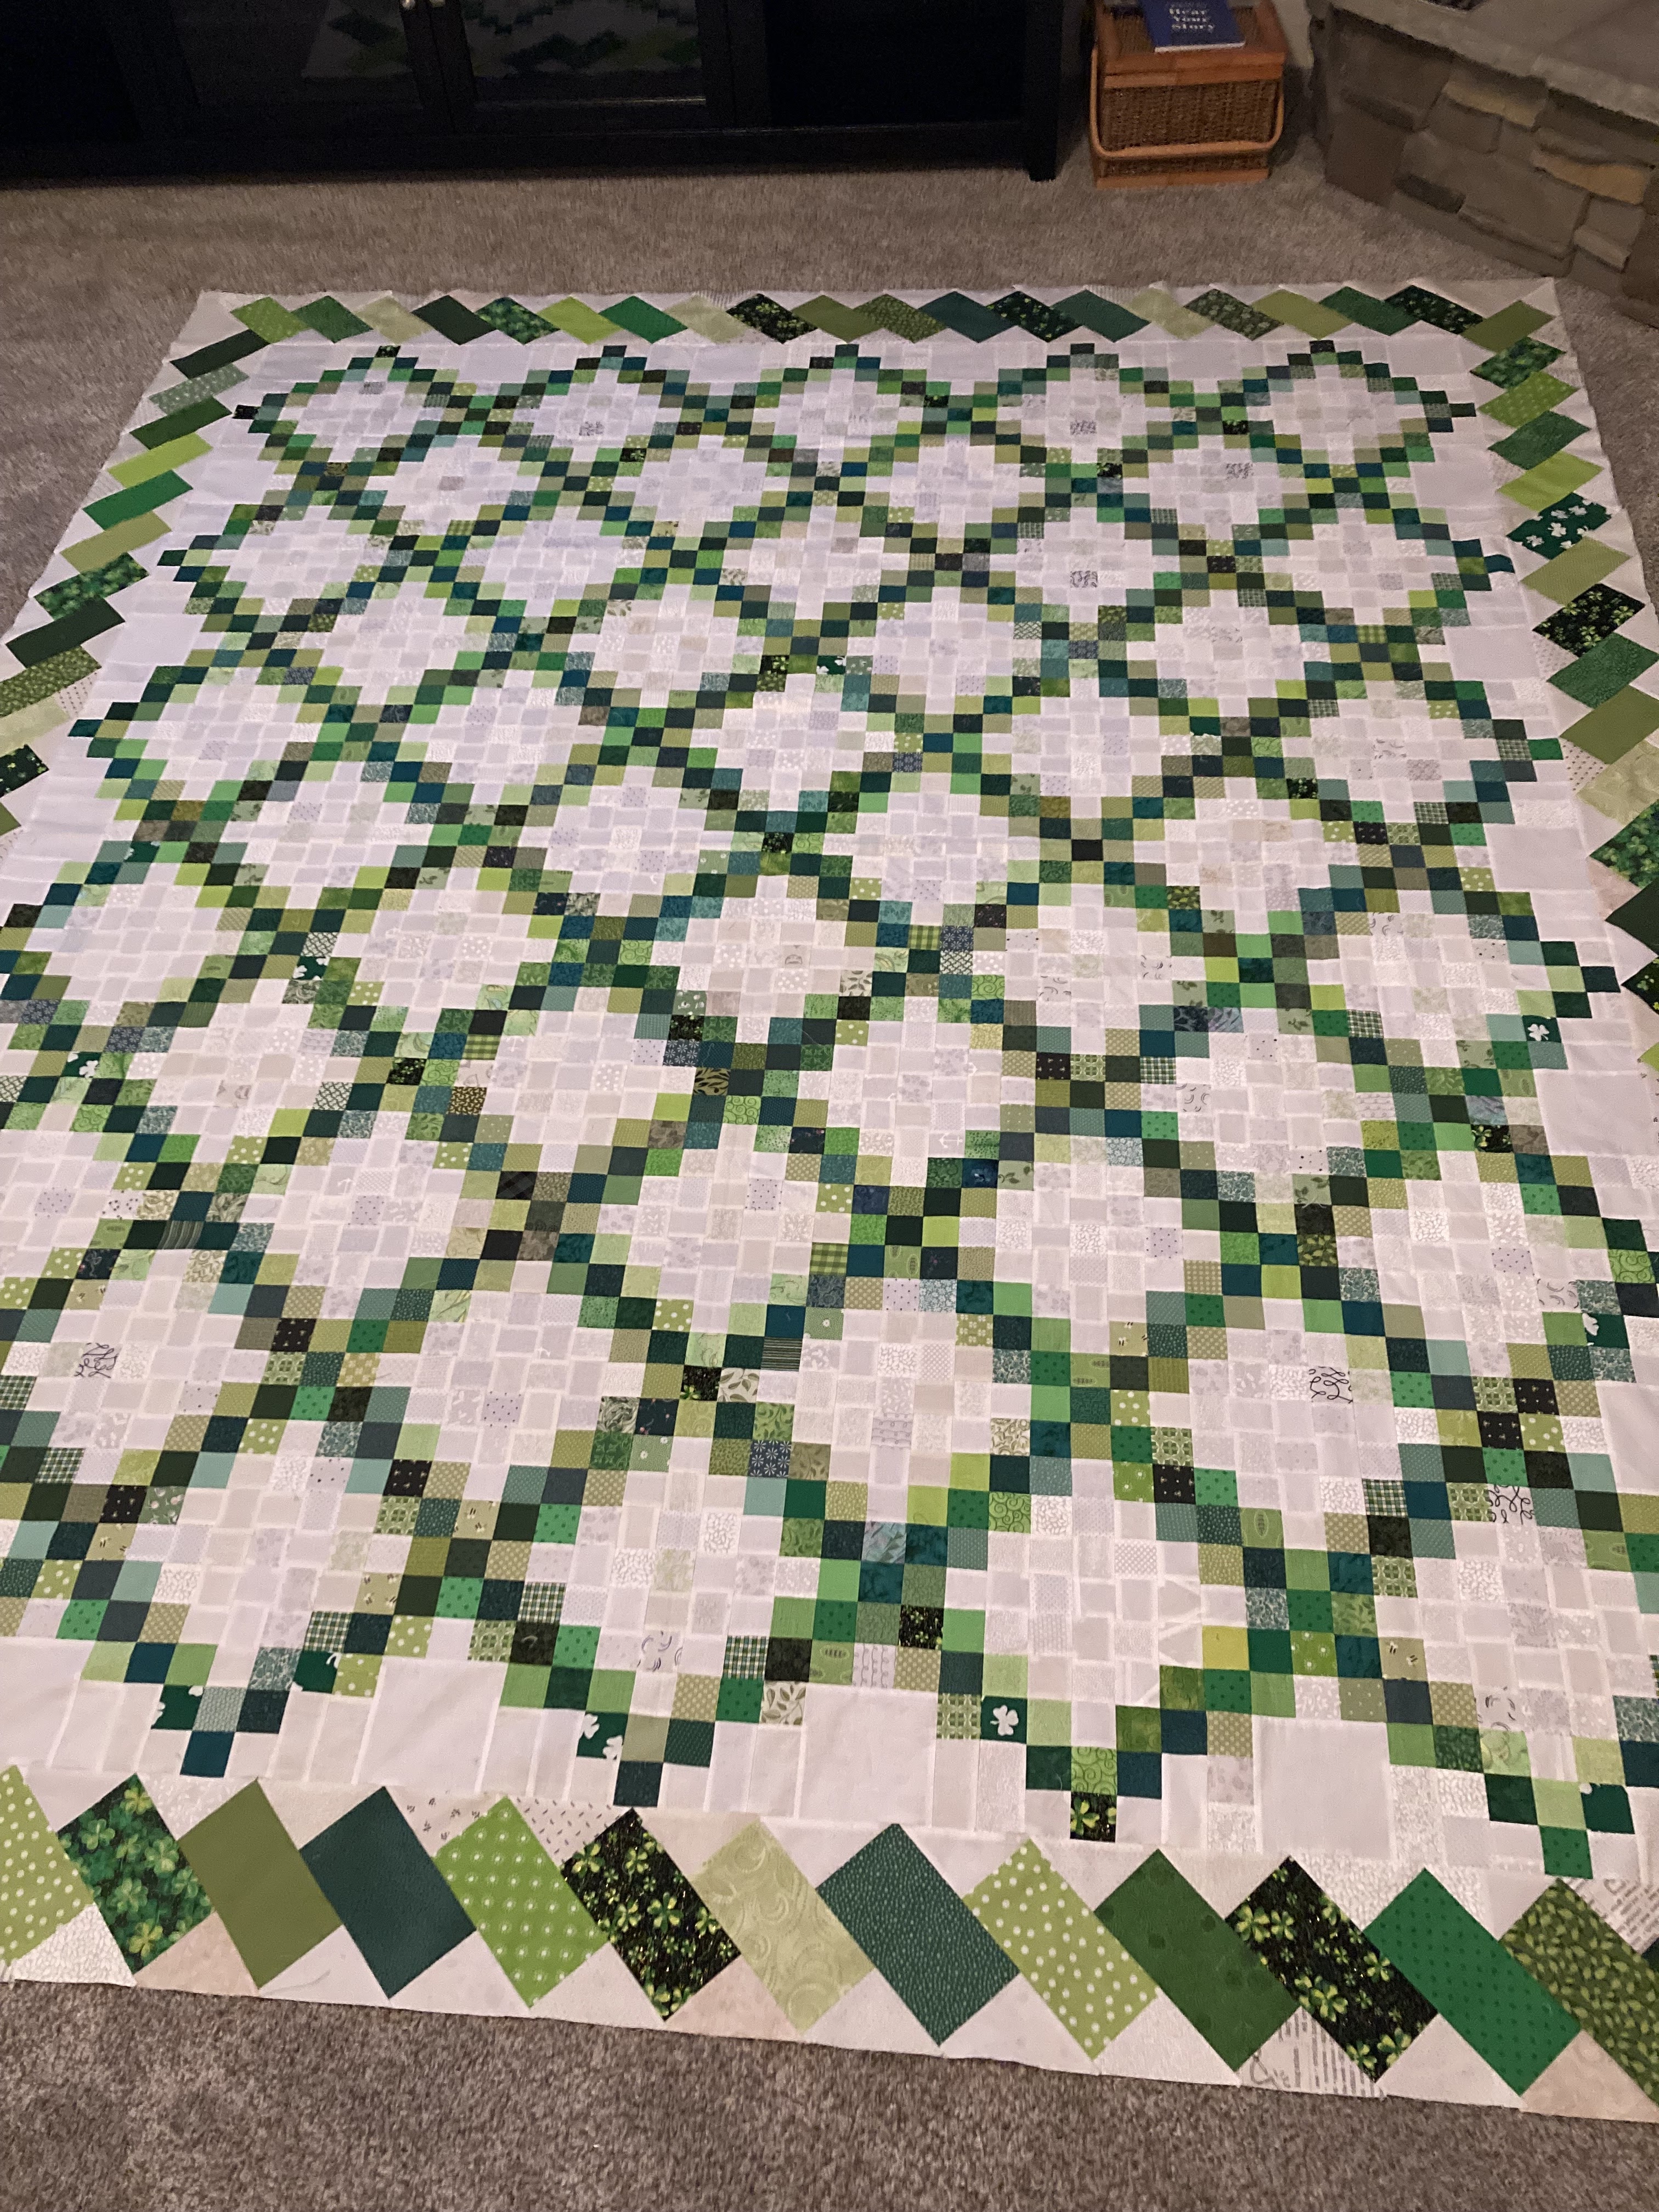
| I created my own design but was inspired by two quilt toppers, which you can see further down in the post. |
Some Cutting Instructions:
For each 9 inch finished Churn Dash block, make four 3 1/2" HSTs, four Bar blocks (made with two rectangles, one color and one background, 2 x 3 1/2", and a center background square that is 3 1/2"
For each Pumpkin block, cut one pumpkin color 8 x 9 1/2", one stem is 1 1/2 x 2", and two background 2 x 4 1/2" rectangles (which are sewed to each side of the stem. To round the pumpkin, use four 2 1/2" squares.
For the bigger 9 patch blocks, cut 3 1/2" squares as shown and sew together and trim to 9 1/2" Note: If I make this again, I will make the colorful squares in the corners and the center, instead of the background squares.
For the 4 patch blocks; cut 2 inch squares (2 color and 2 background)
For the friendship stars: Cut four 1 1/2" background squares and one 1 1/2" colorful square for the center. To make the four HSTs cut a 2 5/8" square of each background and colorful fabric and sew together around the perimeter and then slice diagonally twice, press open and trim each square to 1 1/2"
For the Flying geese (to make four) cut a colorful square 4 1/4" and cut diagonally twice. Of background cut two 3 1/2 inch squares and also cut diagonally twice. Sew the smaller triangles to each side of one colorful triangle to create a 2 x 3 1/2 flying geese block.
 |
| Use the stitch and flip method to create the rounded upper parts of the heart and the lower angle. Remember each side is a mirror image. Sew together and trim to 3 1/2" Note: on my heart which is pictured, I used a 3/4" square instead of a 1" square but I think it would look better if it were a 1" square. |
Inspiration for my Fall Topper. The first one is called Pumpkin Patch by Buttermilk Basin and the 2nd one is called Pumpkin Dash by Lori Pengally.
I mostly love the border of the first one and the second one I also love but wanted to make one with less applique.