Isn't Candy Corn a great addition to your fall decor? Would you like to make a candy corn table runner?
This is what you need:
1. White (or cream color), yellow, and orange strips 3 3/4" wide width of the fabric (WOF) Note: I used two different oranges and 2 different yellows.
2. Strips of border and sashing fabric 3" wide x WOF x 3
3. Piece of fabric for the sides 6 1/2 x 10 " and 2 strips 2 x 10" (not shown)
4. Backing and batting 15" x 40" (not shown)
5. Binding (2" x WOF) x 3 (not shown)
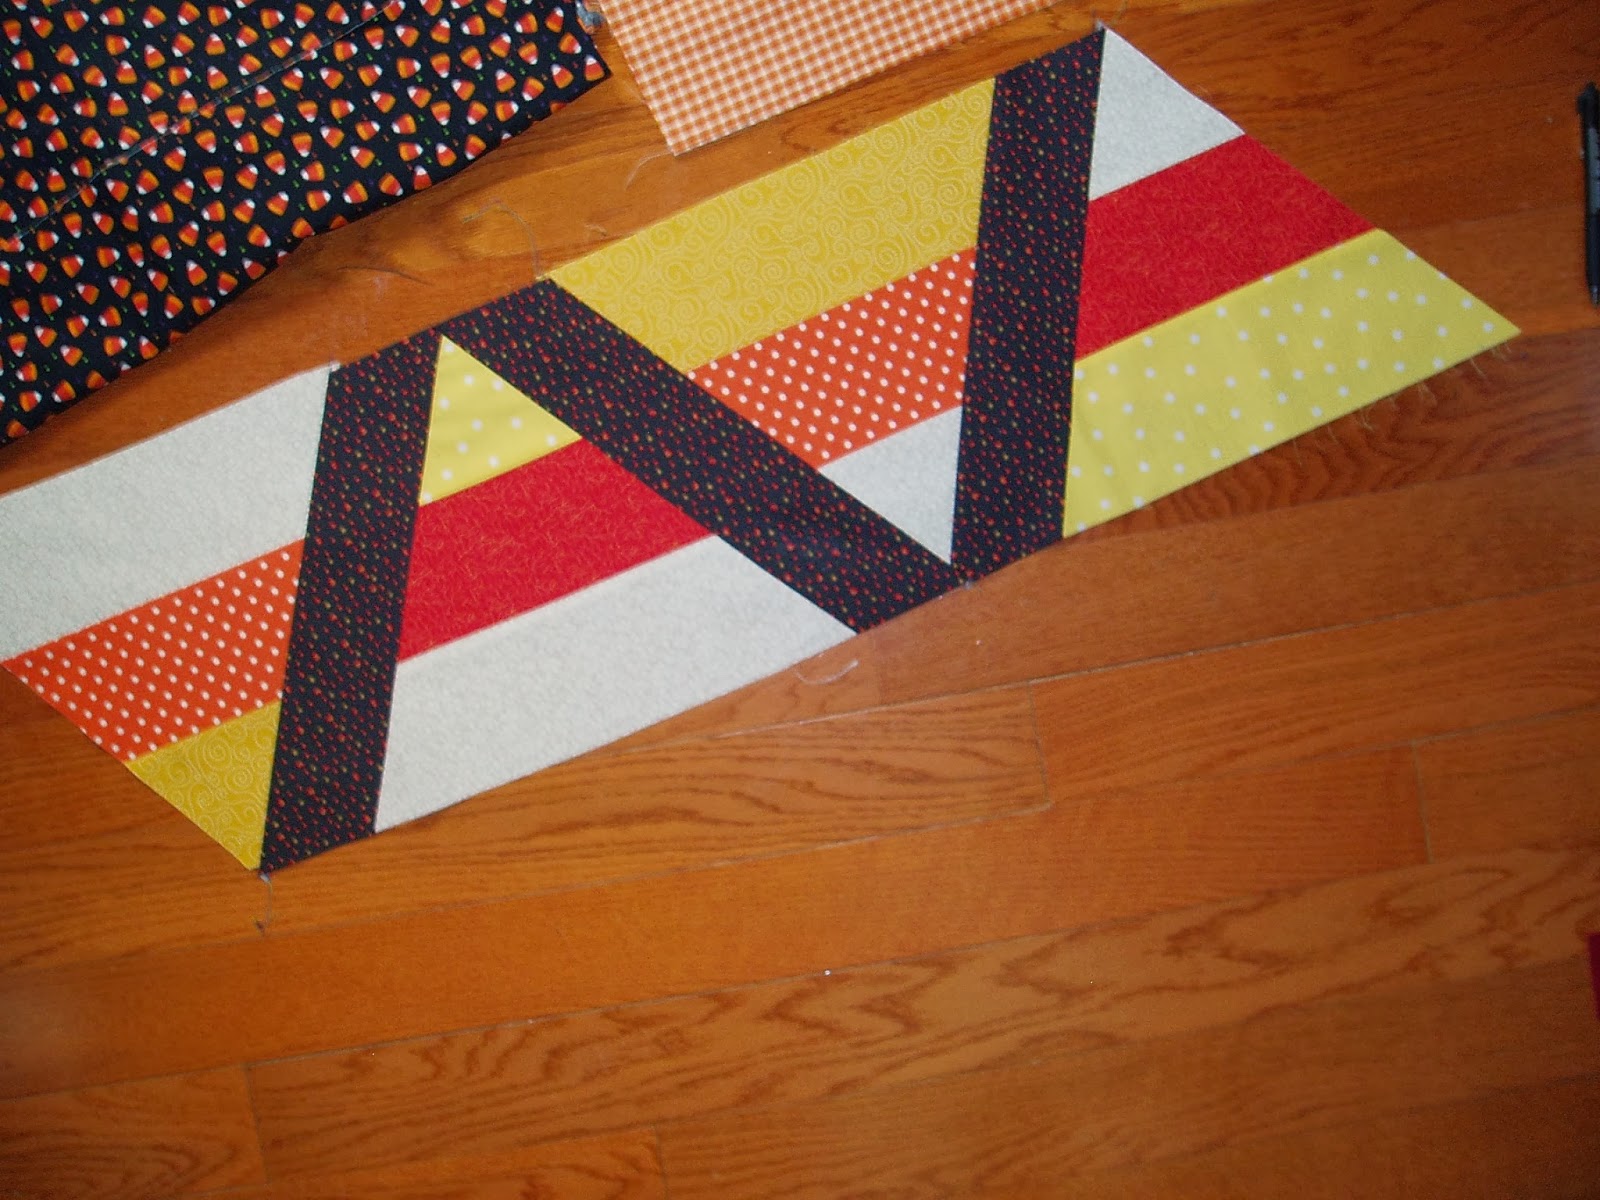
Sew the yellow, orange and white fabrics together
Trim off the 1st part and discard or save to make a pinwheel.
 |
| I used a regular ruler and lined up the bottom with the 60 degree (circled in pink) line (has pink arrows pointing to it). Note: Since the end piece I cut off is only half, I think it's technically a 30 degree angle. |
 |
| Line up that 60 degree line with the bottom, leaving 1/4" seam allowance and cut to get the candy corn shape. Repeat, moving the 60 degree line down to the other side and then back up until you get 4 "candy corns". (Unfortunately, I didn't capture how I lined up the 60 degree line in the photo) |
Next: Sew a sashing strip between each candy corn.
 Trim the bottom
 |
| Line up the 60 degree line with the seam (again see the 60 degree is circled and pink arrows point to the line). Trim the bottom of the sashing even with the bottom of the candy corn. |
Trim the top leaving 1/4" seam allowance
Now it's time to add the sides.
Cut the 6 1/2" x 10" rectangle diagonally.
In this photo I used a ruler that does have a 30 degree line which I lined up with the outer edge, leaving 1/4" for the seam allowance on the outer edge and also I left a seam allowance on both sides of the diagonal line.
 |
| Sew on the sides which gives it a rectangular shape. |
Sew border strips to top and bottom. Trim sides. I don't have a photo of the next step which is to add the 2" x 10" strips to each side. Trim and square it up.
Layer your backing, batting, and table topper top, baste, quilt and then bind. I created a word search in the black quilting by free motion quilting Halloween words into the stitching. It's so dark it's hard to see in the photo.
You can sort of see the words from the back. If you look carefully at the bottom, you can see the words, "Happy Halloween ~ Have Fun"
 |
| Happy Halloween! Have Fun! |

 In this photo I used a ruler that does have a 30 degree line which I lined up with the outer edge, leaving 1/4" for the seam allowance on the outer edge and also I left a seam allowance on both sides of the diagonal line.


 2.
2. 3.
3. 


No comments:
Post a Comment