I'm still working on a few Christmas Projects.
This just needs some binding and it'll be a cute potholder.
And it even has a recipe!
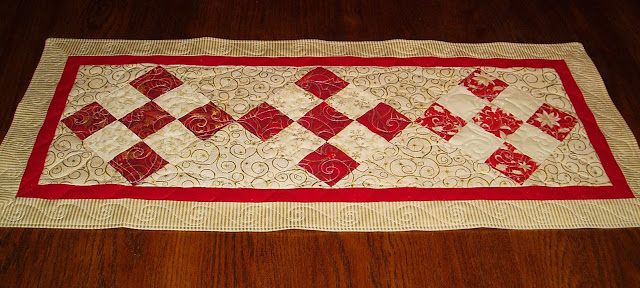
Did you see this table runner?
Here are my versions in more traditional colors, in process:
I was so excited today. I have long been admiring mitered corners especially with striped borders! I've read numerous tutorials on the subject but have been too imtimidated to try it. I don't know why I got brave today! I just got this striped gold metalic fabric from Connecting Threads (on sale) and it's perfect for the border (and thank goodness because everything else I tried looked terrible!)
Finishing up the Row Houses Christmas Quilt.
And it even has a recipe!
 |
| I love this 9 patch Table Runner made by Sherri McConnell of a Quilting Life. She has a great free tutorial that is easy to follow. Click anywhere here to go to her tutorial if you want to make one. |
 |
| 9 Patch Table Runners |
 |
| I was pretty surprised to see that this corner turned out well! |
 |
| Here I'm pulling the corner down because I'm going to line up the upper border with right sides together as you'll see in the next photo. (The diagonal was already cut from one of the other edges.) |
 |
| Each corner turned out pretty good! |
 |
| Ready for Quilting. I placed the backing and top right sides together and with the batting on the bottom, sewed all together around the edges, leaving 4 inches open for turning. |
 |
| I guess I should call it, "Glitter Red and Gold Table Runner". I wonder if I made the backing very slightly smaller than the front if it would lay more smoothly? |
Finishing up the Row Houses Christmas Quilt.
 |
| Finishing up the Machine Quilting |
 |
| This was the first time I was able to go from edge to edge and not have to finish up on the small machine. The tension was good but I did have quite a bit of trouble with the thread breaking. |
 |
| Quilting all complete and ready for binding. |
 |
| Quilted with red thread. |
 |
| Red, green, and cream colors. |
 |
| Binding complete. |
 |
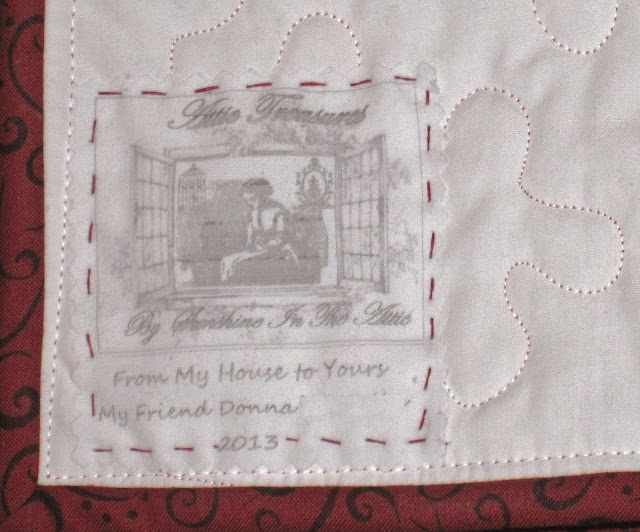
| Still toying with label making. Maybe if I had a different printer it would turn out better. |


2 comments:
I really love the house quilt, so fun.
That house quilt and your runners are so festive. They make great gifts too. Do you have a long are machine?! WOW! I can't imagine...
Post a Comment