Welcome to Christmas Corner! I've made a mini pillow with a pocket to hold a secret surprise.
 |
| This is the Secret Santa Pocket Pillow |
 |
| The back pocket that can hold a a sweet note or a small treasure (or a gift card). |
The inspiration came from this darling block pattern by Marcia Hahn on the Quilter's Cache here. Marcia has 100's of wonderful free quilting patterns at the Quilter's Cache.
| Marcia's block is 12 1/2". You can visit the quilter's cache (see link above) to make Marcia's block or for my mini pillow, check out my cutting instructions and tutorial to make a 6 inch Secret Santa Pocket Pillow. Also I'm trying something new. I'm hosting my first link up party and hope you'll link up some of your favorite Christmas projects/gifts. There are no rules. You can link up current projects or from the past; finished or in process. I would love to see your version of the Secret Santa Pocket Pillow! Note the Link Up is at the end of the tutorial (wasn't sure how to put it here) |
This is quick to make (less than an hour once you gather your supplies). All seams 1/4".
Step 1. Cut fabric into the following dimensions:
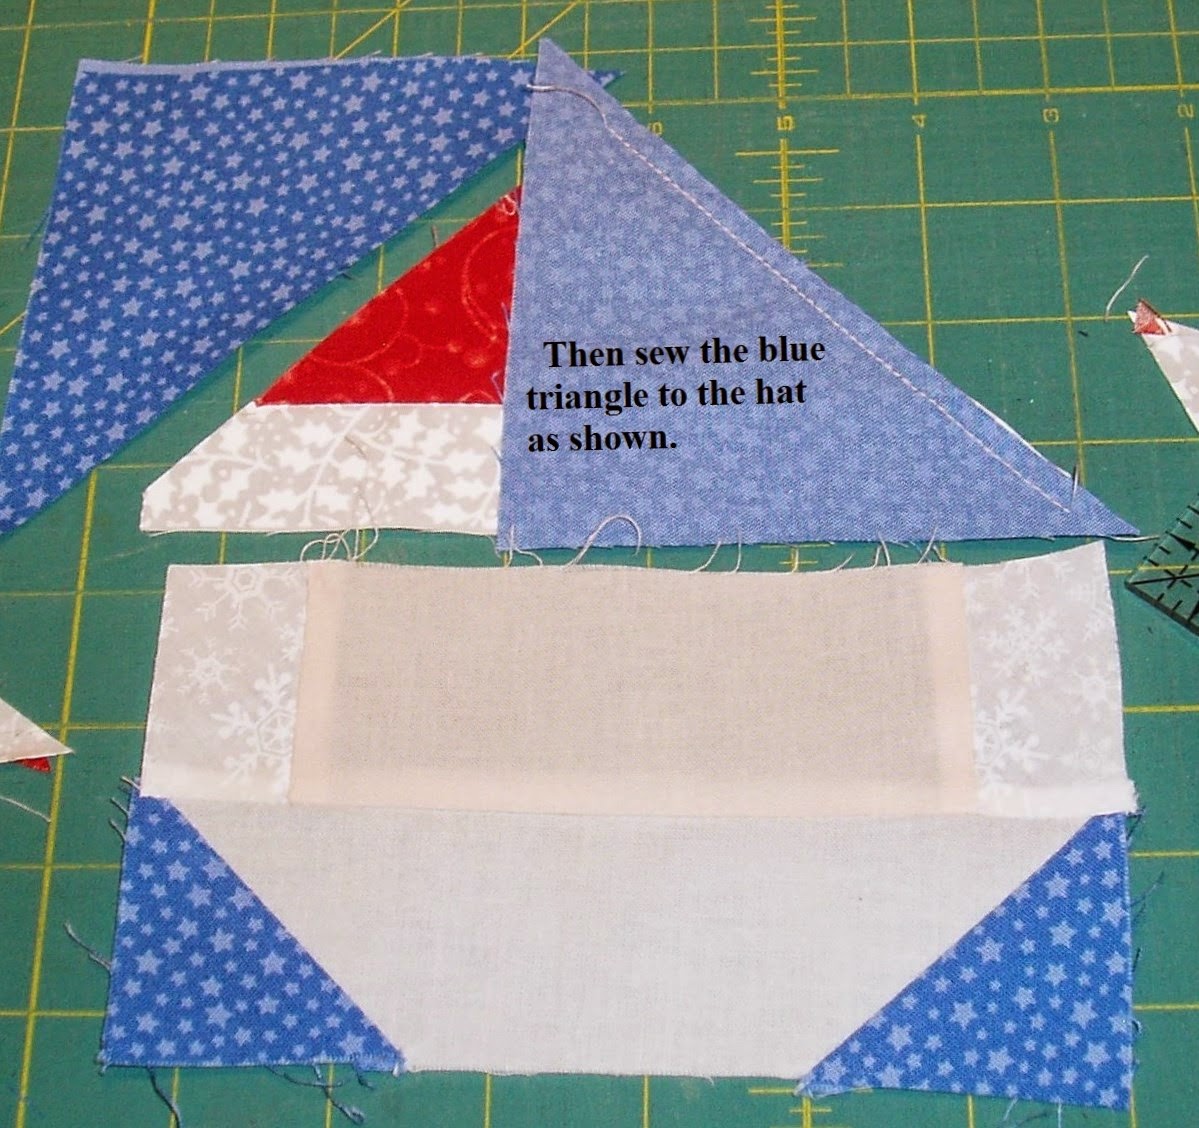
Step 2. Fold the red triangle and white brim in half as shown to form a light crease.
 |
| Once you've sewn the block, it's time to make the eyes, nose, mouth, and mustache (felt worked well and I used googly eyes). |
 |
| Sew the right sides together, leaving an opening for turning. |
 |
| Turn out the right sides and press and then fill with batting to desired fullness. |
 |
| Stitched closed as neatly and invisibly as you can. |
 |
| When I was putting on my make up this morning, I put some blush on Santa's cheeks too (see first picture on top) |


4 comments:
Such a cute idea ... thanks for sharing! :)
Oh my gracious, adorable! Thank you for the inspiration, when I'm off work I will definitely make something to link up!
~Brandy
brandizzle7133 at gmail dot com
This Santa is super cute! This is a project I will be making for the next Christmas! I love his little pompom!
Thanks for the tutorial!!
Susie
THat is sooo cute! WHo doesn't love Santa?!
Post a Comment