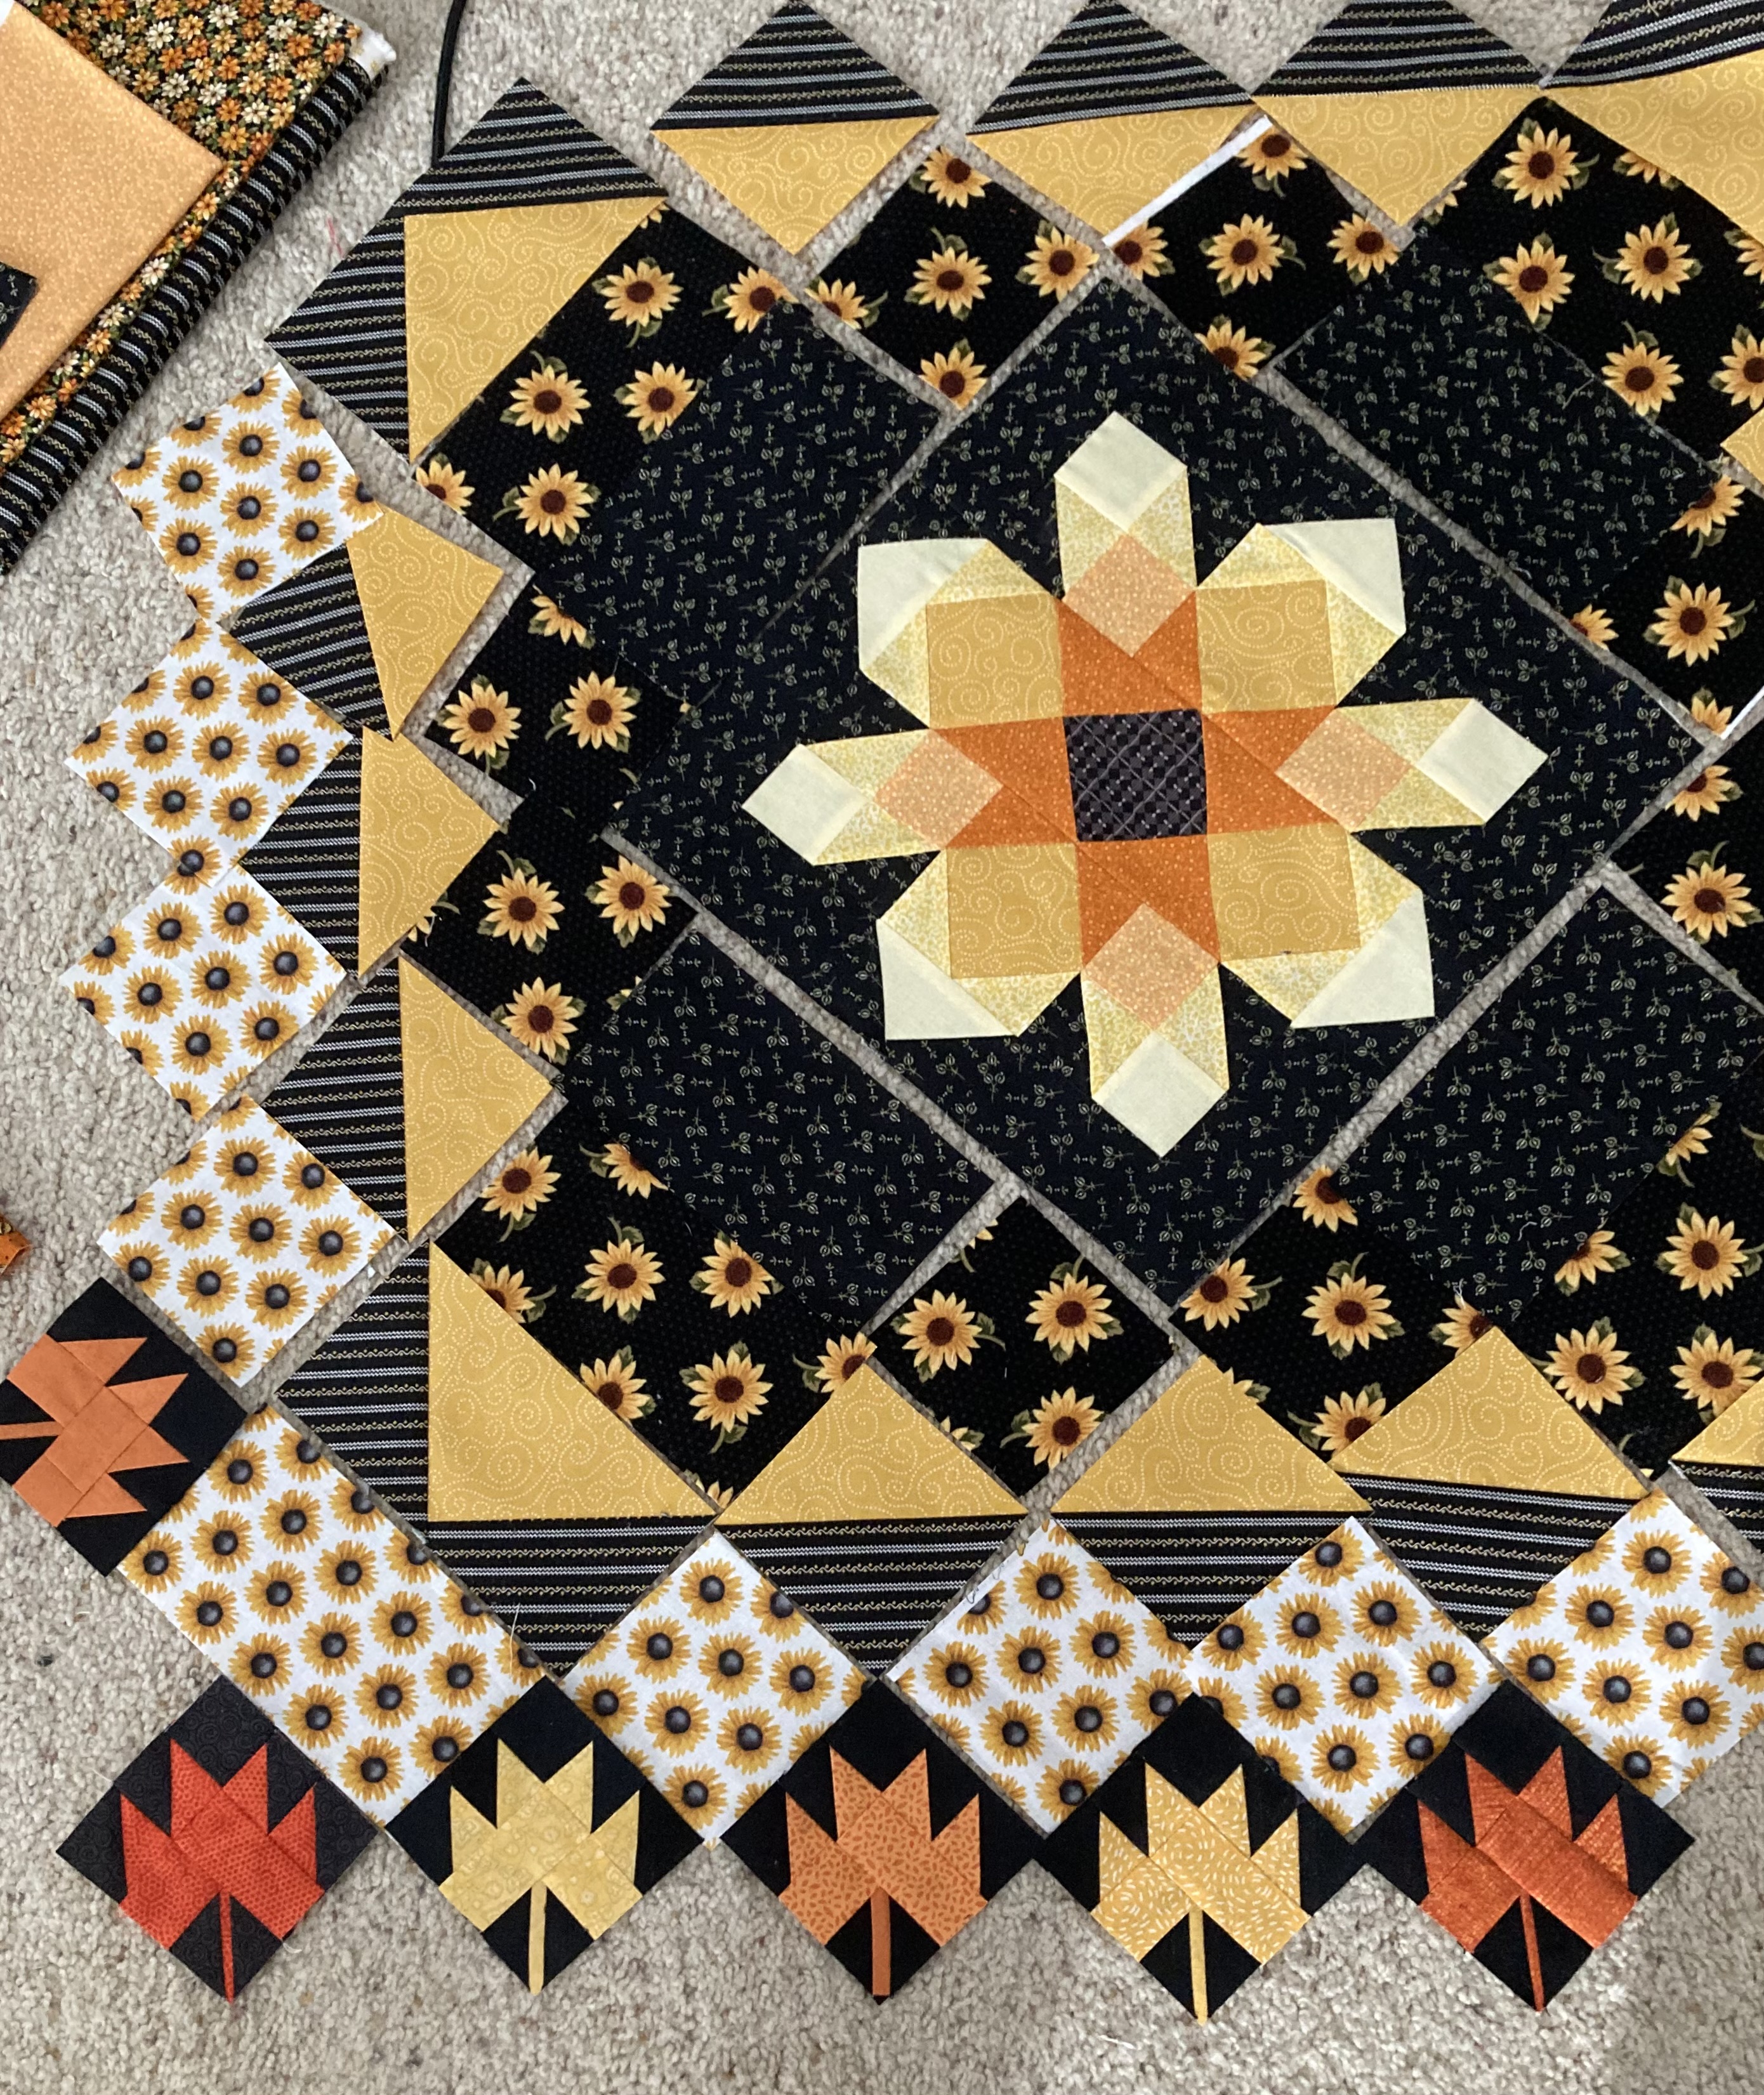
Since I'm going to wait and complete the binding next year, I'm sharing some cutting instructions for this patriotic medallion quilt before putting everything away. Actually, it would be pretty in any holiday colors!
 |
| I love how it turned out! |
 |
Also sharing this little topper. The centers of these two quilts were made a few years ago when I was making other toppers and they ended up being orphan blocks (original post here). The free Firework block pattern is still available on the Fort Worth Fabric Studio Site, called the Star Spectacular Table Runner Quilt Pattern.
|
Here are some cutting Instructions for the large topper I made: Note: The center medallion block needs to be 13 1/4" unfinished, which will then be put on point. So you can make the block above but just cut the outside pieces 1/2" bigger when cutting. Another option is to make your own design, by making a 9 patch, with each block 4 3/4" and then when all sewn together it will be 13 1/4" unfinished.
 |
Once you have your center on point block, you will make it square by adding the following as shown in the picture: The dark blue star triangles are 3 7/8" squares cut once diagonally (or you could cut a 5 1/2" square twice diagonally to get four triangles at once) You will need a total of 12 dark blue triangles. The red bigger squares are 3 1/2" squares (you need six). See below for the instructions for the outside corner squares.
These are all the other blocks you might want to make or design your own! |

Other than the center, all blocks are 3 1/2" unfinished except the stars which are 6 1/2" unfinished and some blocks which are 3 1/2 x 6 1/2".
----------------------------------------------------------------------------------------------------------------
DON'T KNOW WHAT THIS BLOCK IS CALLED?
1. For the large dark triangle you can cut a 5 1/2" square twice diagonally or a 3 7/8" square once.
2. The white triangles are 2 3/8" squares cut once diagonally or 3 3/8" square cut twice diagonally
3. The red square is 2 inches
-----------------------------------------------------------------------------------------------------
FLYING GEESE BLOCKS (3 1/2 x 6 1/2" unfinished) you may use your favorite method or follow mine
For the geese (center triangle) cut 7 1/4" and cut diagonally twice as shown in the picture on the right or you can use a 5 1/8" square and cut diagonally once. For the sky (the outer smaller triangles) cut 3 7/8" square cut once diagonally or make 4 at a time by cutting a 5 1/2' square twice diagonally
For this one, the"goose" is the same as above and the "sky" is constructed in the same way as those other blocks, with a 2" square and the little white triangles (see dimensions above) OR you could just use two of those blocks
----------------------------------------------------------------------------------------------------------------
 |
| You could use two four patches instead of these blocks but I like this better with less seams |
-------------------------------------------------------------------------------------------------------------------------
FOUR PATCH
The four patches are just two inch squares sewn together as shown
--------------------------------------------------------------------------------------------------------
SQUARE IN A SQUARE |
Cut a 2 5/8" square for each center. For the outside corners cut a 3 3/8" square and cut diagonally twice (or if you are using small scraps, could cut (2) 2 3/8" square cut once)
|
 |
To help the block come out square, make the folds as shown and then line up the folds before sewing together. Makes 3 1/2" (unfinished). You will need sixteen Square in a Square blocks if yours will be like mine.
|
-----------------------------------------------------------------------------------------------------------
HALF SQUARE TRIANGLE BLOCKS (3 1/2" unfinished)
 |
Use your favorite method to make Half Square Triangles. My favorite is a 4 at once method by sewing two 5 1/2" squares together, sewing around the perimeter and cutting diagonally twice. OR cut 3 7/8" squares and cut diagonally once and sew the right sides together, press and square up.
|
----------------------------------------------------------------------------------------------------------------
SOLID BLOCKS ARE 3 1/2" X 6 1/2" OR THE SMALLER SQUARES ARE 3 1/2" SQUARES
---------------------------------------------------------------------------------------------------------
SAWTOOTH STAR BLOCK 6 1/2" UNFINISHED
-----------------------------------------------------------------------------------------------------
 |
| After constructing the blocks you will sew together into sections being careful with the large star sections |
SINGLE THICKNESS BINDING TUTORIAL
 |
| I made a tutorial for a single thickness binding. Also see the Temecula Quilt Company for her instructions. Make the binding 1 1/2" by about 3 more inches than the perimeter of your project. Press in on one side 1/4 inch. |
 |
| If making a seam in more than one length be sure to cut it and seam it diagonally as shown. I like to line the non pressed edge of the binding up with the border on the back. I usually start a few inches before a corner and leave 8 or 10" |
Here is a video to show what to do when you come to a corner
Having trouble getting the video to load. I'm working on it.
 |
| Once you sew all around, leaving some tails to connect, here is the next step |
 |
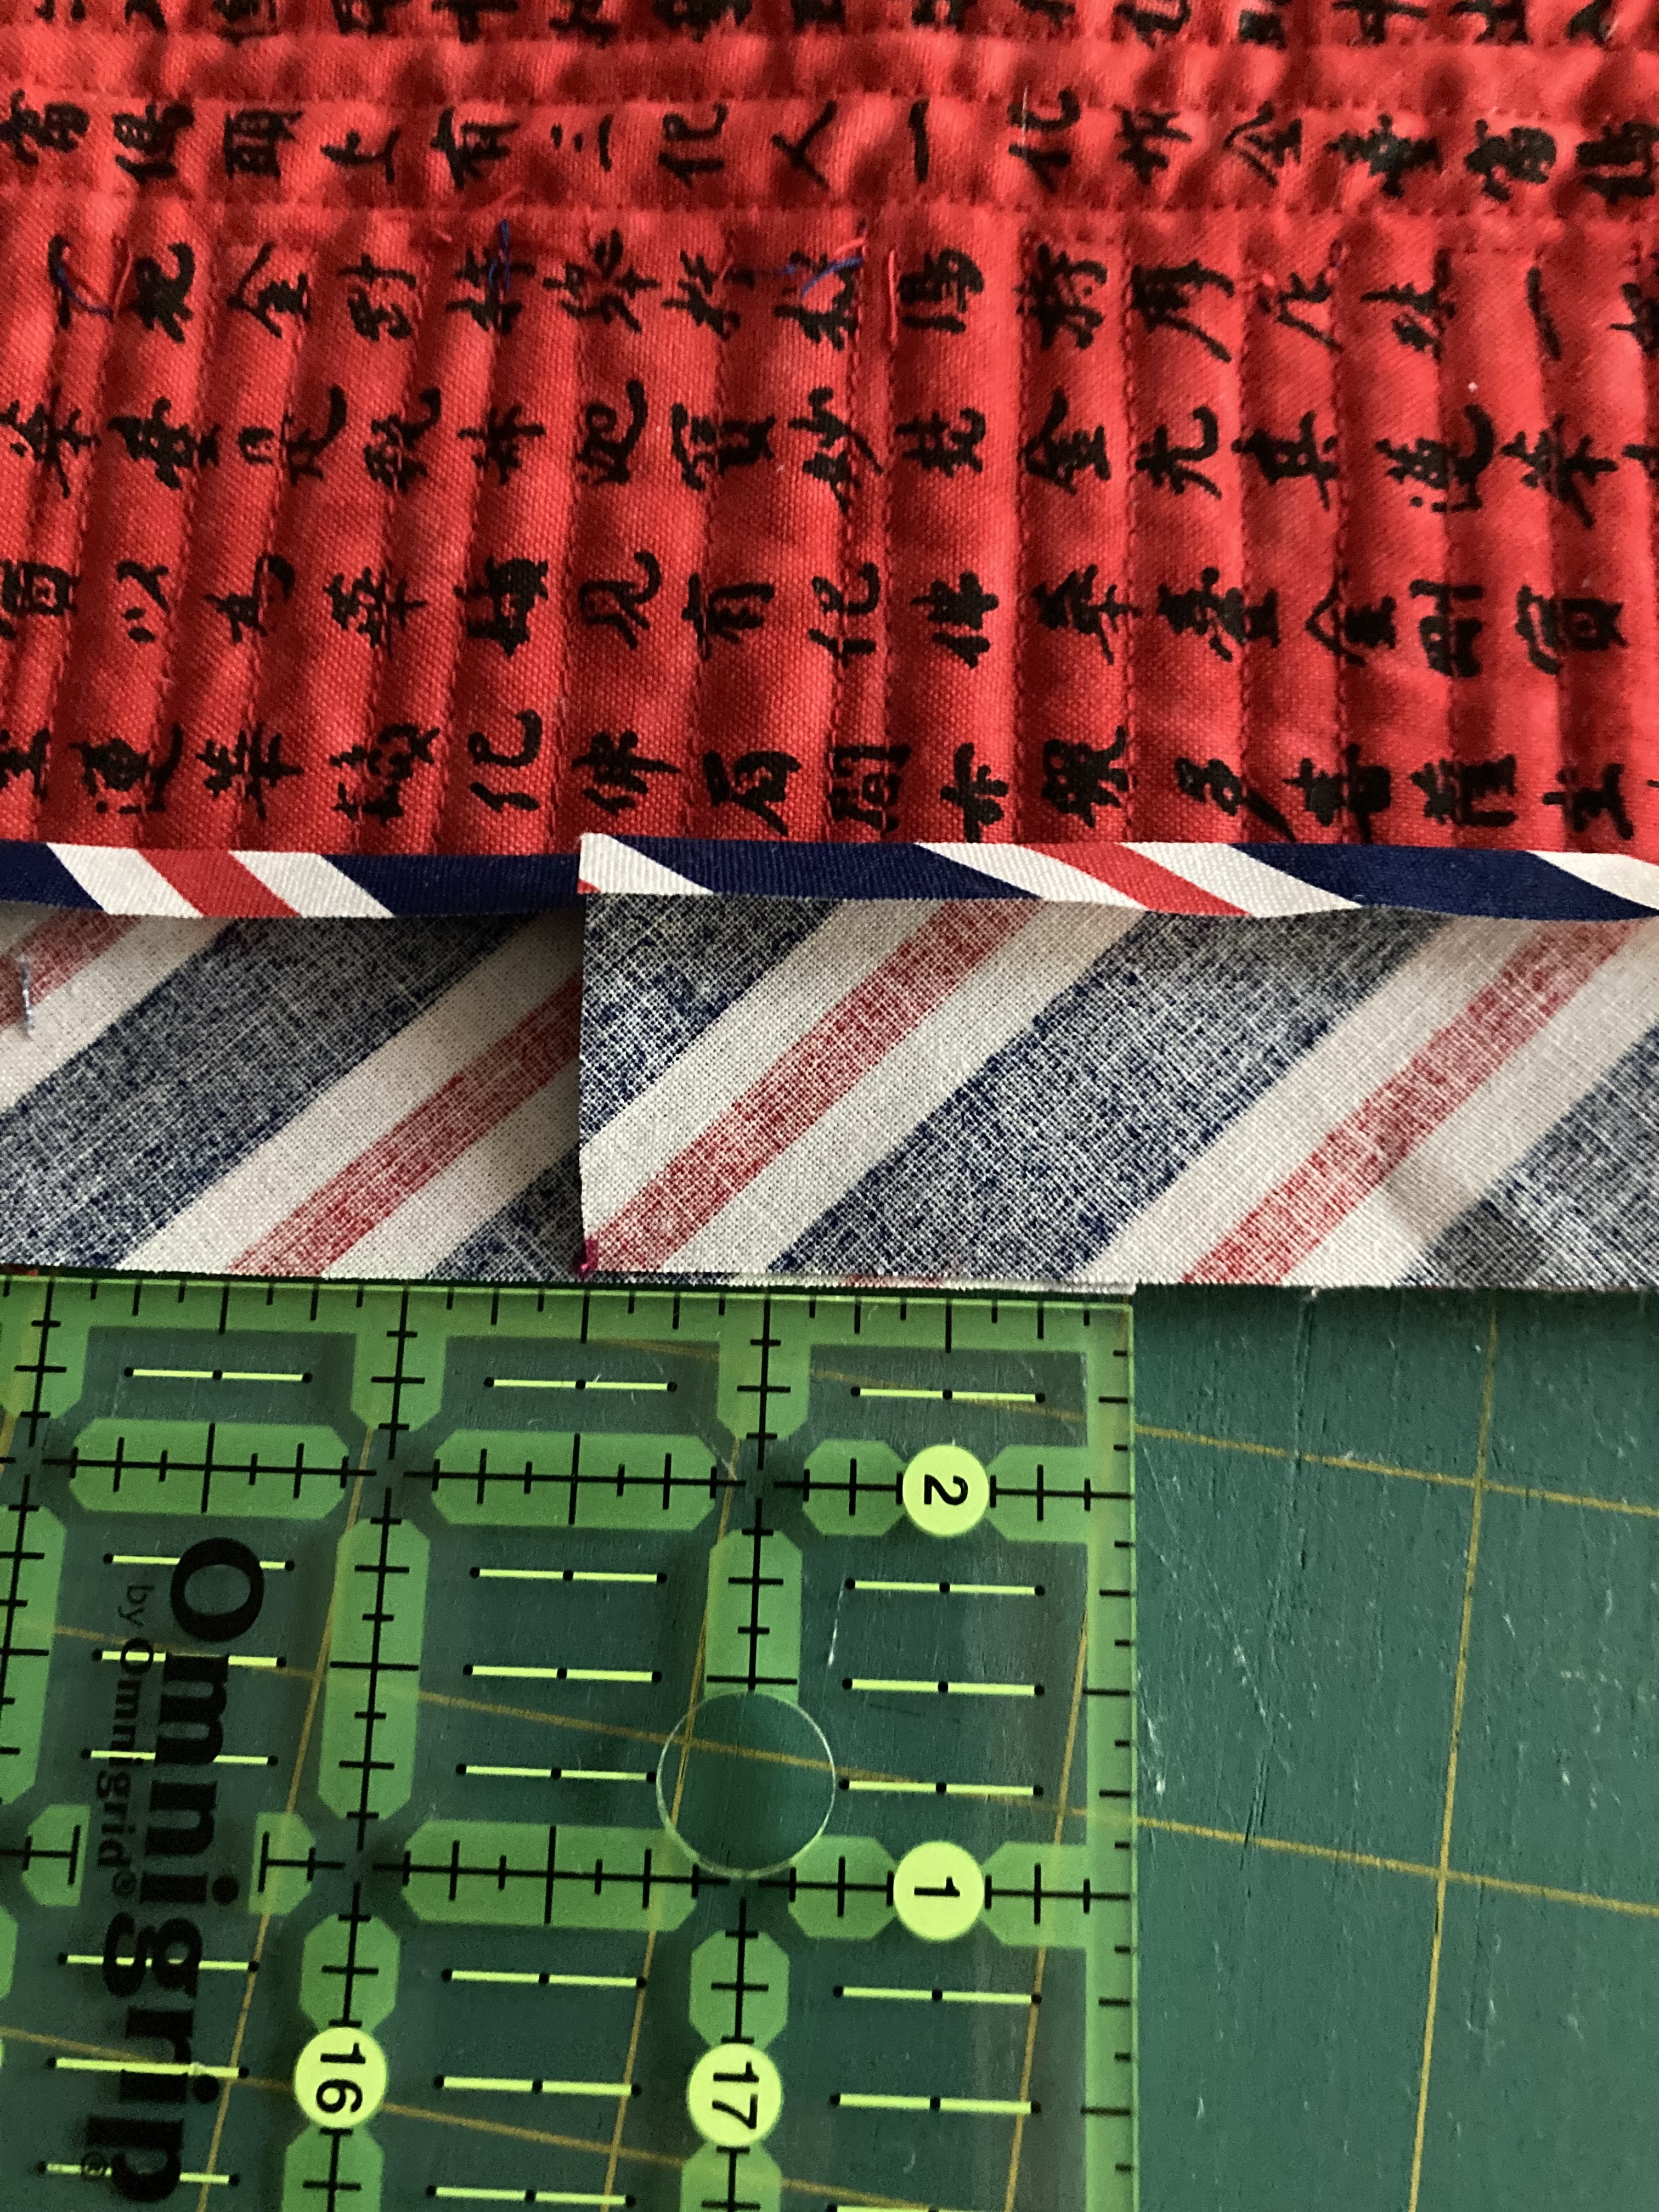
| the tail pieces need to overlap by the width, which in this case is 1 1/2 inches |
 |
| Once you've trimmed so they are just 1 1/2" bigger then you line them up perpendicularly as shown. I always put a pin in as shown and double check to see if after sewing, it will be correct. You sew from the right corner to the spot where the left corner is below the top piece. If it's correct you can trim leaving a 1/4" seam allowance. Finish up by sewing down and then top stitching on the right side. |