 |
| I started sewing these 10 inch blocks together today. When I got 16 of them sewed into a square, it occurred to me that they'd make a great table cloth. I love the warm colors. The tulip blocks are from a layer cake called Tulip Festival from Benartex. The rest of the fabrics are from my stash. |
Tuesday, July 30, 2013
Warm mediterranean color quilt blocks.

Monday, July 29, 2013
Finished little Baby quilt
 |
| I finished this before but didn't include a complete photo. |
 |
| This is made with 5 inch blocks so charm squares would work. I used the June Tailor Fancy Frame ruler to make the scalloped edge. I like this ruler because it can make 4 different size scallops and also includes a wavy edge design. |
 |
| I started making a tutorial for a tote bag but in the end disliked how it turned out and erased all the pictures but when I saw this one it made me think about adding black sashing to these blocks for a quilt. |
Thursday, July 25, 2013
Summer Star (12 1/2 inch star block tutorial)
 |
| Today I visited this site called Ladylike Designs and was inspired to sew bright star blocks surrounded by colorful 4 patches |
 |
| I'll show you how I sewed my star blocks |
 | ||||
| 1. The center of the star is a 4 1/2" square block 2. There are 4 background squares in each corner also 4 1/2 inches 3. There is a border around each star center which matches the star points (2) 1 3/8" x 4 1/2" and (2) 1 3/8" x 6 1/4" 4. The star points are 3 3/4" squares cut once diagonally. 5. There are also setting triangles (these are 3 3/4" square, cut once diagonally) (see next photo) |

 |
| Showing how I assembled the pieces |

 |
| These turn out to be 12 1/2 inch square blocks (unfinished). I like how colorful and bright they are. Good for summer! |
Saturday, July 20, 2013
Winter Wonderland Table topper and mini snowman wall hanging CompleteI
 |
| Add caption |
 |
| I tried the blanket stitch for his nose but didn't work out so well so started over and fused it on. I also tried knitting him a tiny scarf but my yarn was that boucle and it was so bulky even with only 3 stitches that I ended up just pinking a piece of the border fabric for his scarf and I'm happy with how he turned out. |
 |
| I used the pillow case method to finish the edges (refer to the zig zag table runner on the Missouri Star Quilt Co. for a wonderful tutorial on the pillow case method). I like the pillow case method for irregular shapes or scalloped borders because it lays nicely and it's quicker (no need to make binding). I free motion quilted a cute design but the fabrics are so busy it barely shows up so I'll show you the back. |
 |
| The holly leaves and berries turned out pretty good after a rough start and having to pick a leaf and berries stitches. (I get in a hurry and don't want to practice first.) |
 |
| I saw this Christmas tree design on the Ivory Spring blog. She has a lot of good tutorials for free motion quilting. |
Friday, July 19, 2013
More Christmas in July!
 |
| I followed the tutorial for the Winter Wonderland Table topper by Sarah Rose Quilts -- from the Christmas in July blog hop hosted by the Crafty Quilter. It was easy to follow and I did this in one evening. Still need to quilt and bind it. I really love this pattern. I used a few pieces of a layer cake called Share the Joy by Deb Strain. You can find the tutorial here: http://sarahrosequilts.wordpress.com/2013/07/14/winter-wonderland-table-topper/ |
Thursday, July 18, 2013
Hooked on Christmas in July!
 |
| I usually only want to sew for the season and when the season's over have to put away all the unfinished stuff and start on the current season. Luckily, Julie, the Crafty Quilter has got me in the holiday mood! I adapted this little snowman wall hanging from a picture from the Connecting Threads catalog. I used some fabrics I got in a charm pack called "In from the Cold" by Kate Spain for Moda. Still need to get some little black buttons for the mouth and bind it. Here's a mini tutorial for this little snowman wall hanging:
1. The snowman head starts as 3 1/2 inches square, the body 6 1/2 x 3 1/2 inches, the border squares start as 1 1/2 inches square.
2. "Snowball" the corners of the head and body (use 1 1/2" squares)
3. Cut off 1/2 inch from the top of the head block and sew on a 1x 3 1/2 inch strip of black to make the brim of the hat.
4. Cut 1 1/2 x 2 1/2 inch black rectangle (for the top of the hat) and sew 1 x 1 1/2" rectangles on each side.
5. Connect the body, head, and hat
6. Sew the borders (10 of the 1 1/2" squares for each side) and 5 across the top and bottom. (Note: since the squares are so small, it's easier to sew five 1 1/2" x 5" strips together and then slice into the border pieces. Also-- sew long side borders on first)
7. Quilt it (since it's small, hand quilting would be very nice) I did a free motion swirl.
8. Bind it (don't forget the little triangle hanging sleeves-- see previous tutorial-- use 2" squares)
9. Decorate with cute buttons, felt for the nose, maybe a scarf?
And there you'll have a pretty quick and precious gift! Finished size is 5 x 12 inches
 |
Tuesday, July 16, 2013
CHRISTMAS IN JULY! CHRISTMAS WINDOWS WALL HANGING

I have really enjoyed seeing all the projects from the Christmas in July blog hop and am in the mood to sew some more! I hope you like my Christmas Windows wallhanging tutorial. Update: Check out my recent posts for more projects and another tutorial!
Here are the links to all of the projects that were featured during the Christmas in July blog hop:
- July 12: Amy – Amy Made That!
- July 13: Amanda – The Patchsmith
- July 14; Elaine – Summercrafter
- July 15: Sarah – Sarah Rose Quilts
- July 16: Patricia – Quilting Lines
- July 17: Sheri – Sunshine in the Attic (you are here)
- July 18: Julie – The Crafty Quilter
- July 19: Wrap Up and prizes
Let's Get Started on the Tutorial!
Supplies: 1. A Christmas panel or fabric with a christmas or winter scene.
2. Sill fabric (light color) 1/8 - 1/4 yard (depends on the size of your panel); Cut: 2 inch strips
3. Jamb fabric (dark color) 1/8 - 1/4 yard (depends on the size of your panel); Cut: 2 inch strips
4. Pane border fabric in a contrasting color, 1/8 yard; Cut: 1 inch strips
5. Border fabric 1/4 - 1/3 yard; Cut: 2 inch strips
6. Batting
7. Backing fabric: You need about 1/2 yard bigger than your panel.
8. Binding: 1/3 - 1/2 yards
NOTE: I'm using the terminology sill, jamb, and pane, even though that may not be technically correct.

Sunday, July 14, 2013
Finished Scottie Dog Table Runner and Story!
The inspiration for this little quilt. It was made for Katrina who loves Mary Engelbreit.
 |
| One day, Katrina got a little black Scottie puppy named Griffen. |
 |
| Then she got another blonde pup named Gracie. |
 |
| Gracie and Griffen then had puppies, two of which are named Fergus and Buttercup. They are a happy little Scottie Dog family! |
 |
| Free motion quilting with domestic machine. Free pattern for the Scottie block can be found here. |
Saturday, July 13, 2013
Painting of the Fentons scene from the movie, "Up"
 |
| Last year I painted a picture for a friend from work who was going to have twins. She decorated her babies' room in the theme of the movie, "Up" and the scene I painted was when the little house is being pulled from the ground by the large bouquet of balloons (you can see it if you look at my blog from a year ago). At the time she wanted to commission me to paint the Fentons scene and I started it and worked on it a little here and there but had a LOT of "painter's block". Today was the twins first birthday party so I got up and finished the painting, wrapped it in brown paper and string and took it to the party. Here is the finished painting. |
Monday, July 8, 2013
Baby quilt and Christmas in July
 |
| I started this baby girl quilt over a week ago and it's ready to machine quilt. I saw something similar on Pinterest and loved it and still love it! I have been working on a special Christmas in July quilting tutorial. I follow several blogs of quilters who mention that they sometimes get quilts they have made published in magazines or books or they are sponsored by fabric companies and make quilts with certain fabric lines. When Julie Cefalu, The Crafty Quilter asked for volunteers to do a tutorial on a Christmas project, I wanted to try it! Here is the Christmas in July Bloghop schedule:
July 12: Amy - Amy Made That
July 13: Amanda - The Patchsmith
July 14; Elaine - Summercrafter
July 15: Sarah - Sarah Rose Quilts
July 17: Sheri - Sunshine in the Attic
July 18: Julie - The Crafty Quilter
July 19: Wrap Up and prizes
|
Tuesday, June 25, 2013
Completed baby quilts, scottie dog table topper, and started a new project in purples
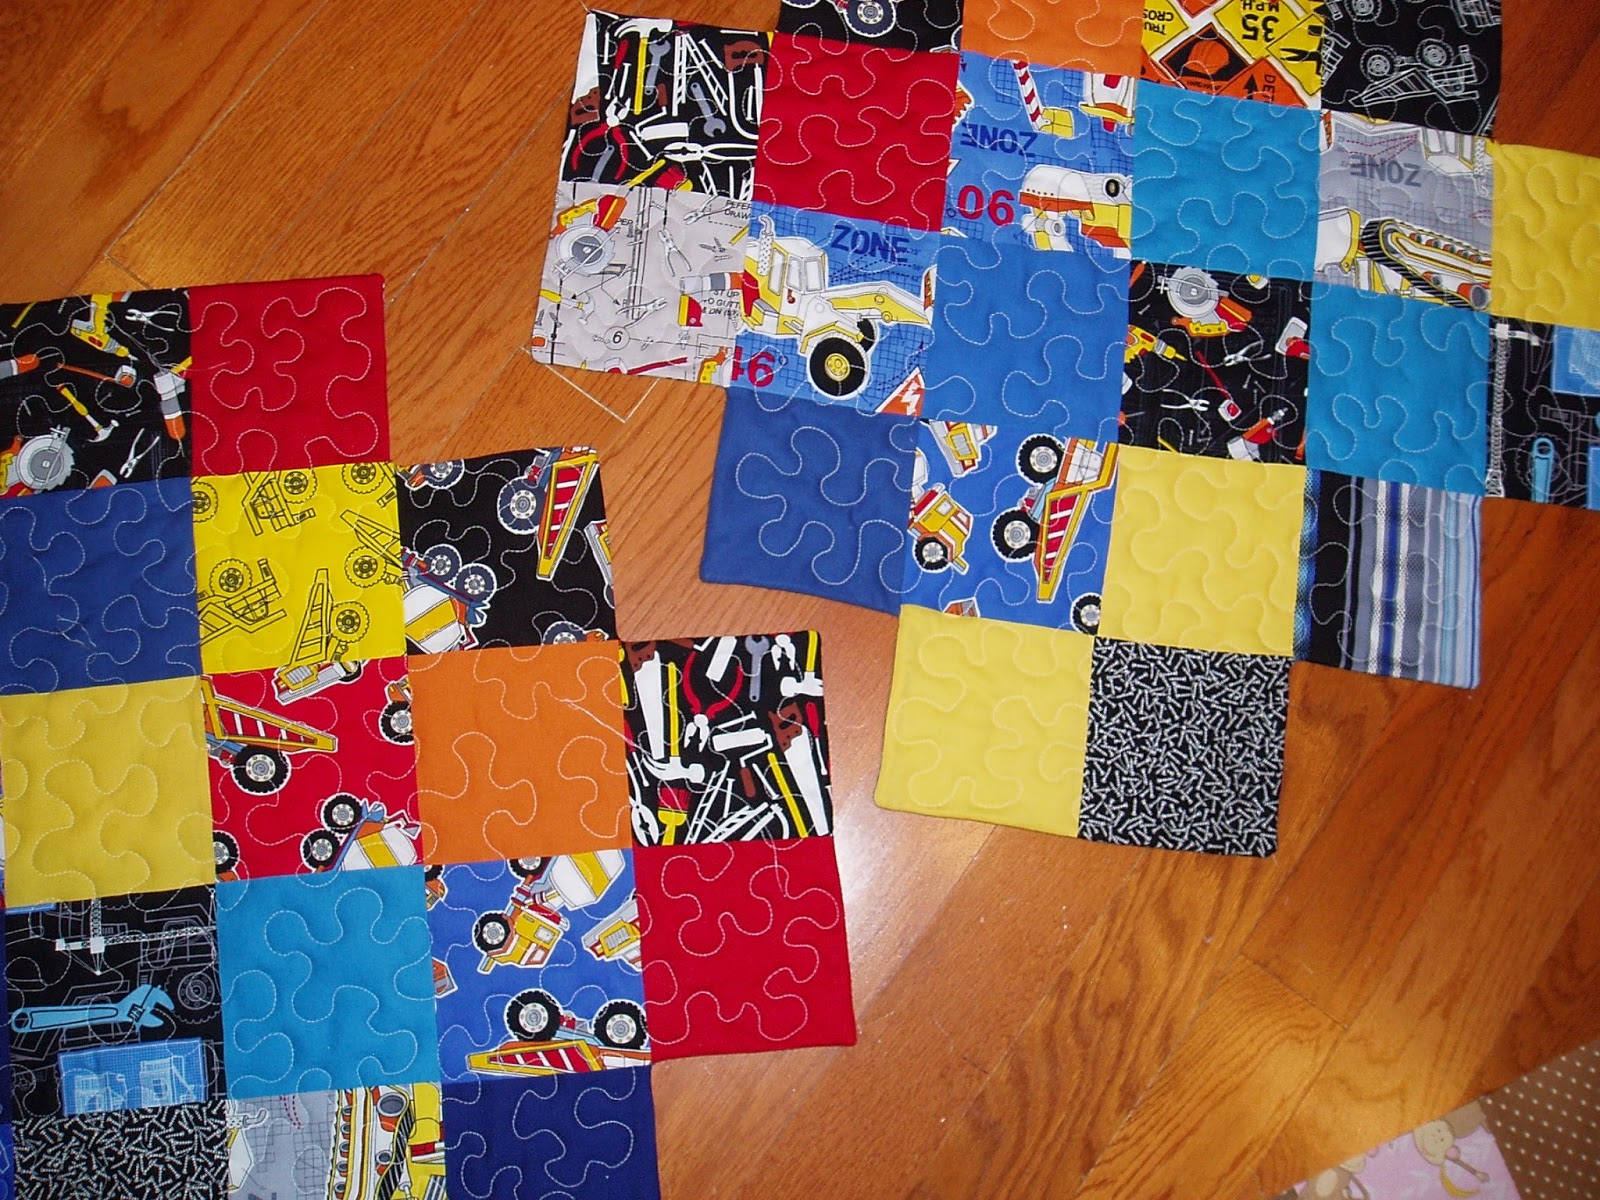 |
| Finally completed all the baby quilts. I made labels to apply so just need to sew them on. These are the Under Construction ones for the twins. |
 |
| Still need to make more yoyos and sew them all but all the quilting is done. |
 |
| That's Gracie. Need to put a bow on her head. |
 |
| Baby girl quilt |
 |
| Free motion butterflies. |
 |
| Free motion butter flies from the back. |
 |
| Today I began a quilt in lavenders and purples. |
 |
| I got this quilt top sewed. |
Saturday, June 15, 2013
Masquerade ball and finishing up "sheep and pickets"
 |
| I'm calling this Sheep and Pickets. You can see the leaf and vine quilting in the light green border. |
 |
| The sheep have blue button eyes and you can see the cloud like quilting in the sky (blue area). |
 |
| Here's a picture outside with the dappled lighting. |
Wednesday, June 5, 2013
Getting started on Scotties. Finished up on the blue quilt.
 |
| Scotties-- plan to make a table runner. The blocks are coming out crooked. Need to work on that. |
 |
| Finished up this quilt that will go to a graduating girl (daughter of coworker) |
Friday, May 31, 2013
Toy trucks and another quilt for a graduate
 |
| I bought these little construction trucks for the older brother (3 years old) of the twins I'm giving the little "under construction" quilts to. |
 |
| Once again I'm making a quilt for a girl who is graduating from high school. She is the daughter of one of my co workers. I had pieced together this quilt top last summer and figured I'd use it for her but then heard that she loves blue. |
 |
| I wanted her to have a blue quilt and so I'm in the process of piecing together this quilt top. I used the same quilt block pattern that I used for the quilt in the previous post. It's cute and goes together somewhat quickly. But truly nothing I do is quick. Not sure if I'm slower than most or not but it's neither here nor there. |
Saturday, May 25, 2013
New projects
 |
| I know 3 baby boys that will be born soon and I got this "under construction" charm pack from the Missouri Star Quilt Company and decided to add some primary colors and make zig zag baby quilt/play mats for each one. |
 |
| Aren't the fabrics so colorful and artistic! |
 |
| This is a quilt I've been making for a senior girl who will graduate and come into the women's organization of our church. It is our tradition to give them a quilt as a welcome gift. |
 |
| At first I was going to use white corner stones and charm square size blocks but then changed my mind and used the red and pink cornerstones and bigger 8 inch squares and so put this part into the back of the quilt. You can see the meandering quilting. I wanted to do coencentric circles but due to my inexperience and/or my machine, I couldn't get it to work. Need much more practice. But the meandering pattern is nice too. |
 |
| Even a pillow case to match. |
 |
| Trimmed it in bright green |
Thursday, April 25, 2013
Zig Zag table runner complete!
 |
| Today I'm going to visit a friend whose husband had a stroke. |
 |
| She has been having some modifications done to her home in preparation for him coming home (he's doing pretty well by the way). |
 |
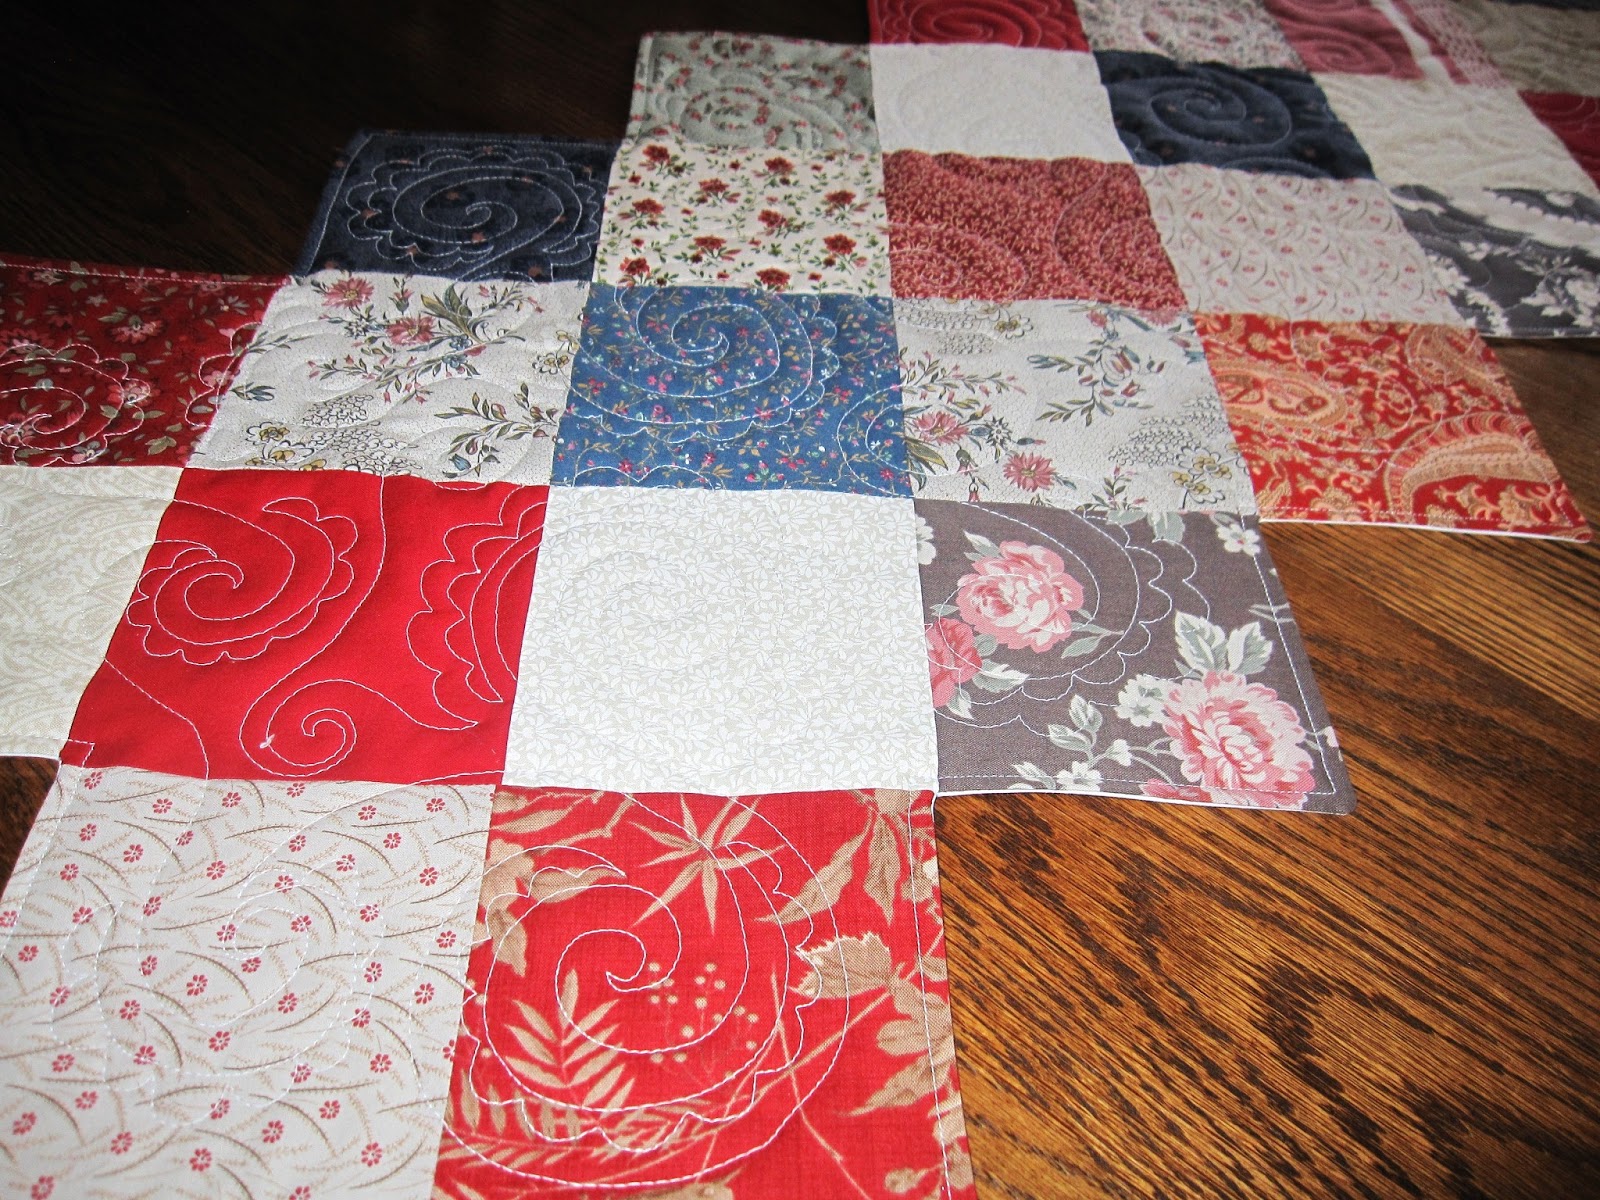
| I decided to complete this zig zag table runner and take to her when I visit. It really turned out great! This is made with charm squares and I used the pillow case method as instructed on the Missouri Star tutorial and then topstitched 1/4 inch all around and then did some free motion quilting too. |
 |
| You can see the swirling, paisley free motion design on back. |
Subscribe to:
Posts (Atom)
Some Late Valentine Sewing (I forgot to post on time
I made a couple of these to give as gifts. See the links for some instructions I used the Moda Block Heads 3 block by Lissa Alexander and I...

-
 Note: See the section with cutting instructions for yardage requirement update but beware as amounts haven't been tested. Popular Log C...
 -
 <a href="http://www.bloglovin.com/blog/5884165/?claim=t88azavjavu">Follow my blog with Bloglovin</a> Welcome ...
 -
 I have really enjoyed seeing all the projects from the Christmas in July blog hop and am in the mood to sew some more! I hope you lik...