When I was making the X O X O small topper, it occurred to me that the O could be part of a very Valentine-y word and I should make some L O V E letters and do something with them. I had a long pillow sitting here with no cover so....
 |
I made a pillow cover for the pillow I'd made for the Scrappy Cats for Fall pillow cover I made last halloween
|
I started out making the letters.
 |
The width of the pieces are 1 1/2 x 5 1/2 inches (finished) so 2 x 6" unfinished.
The left side of the V is longer, 6 1/2" unfiinished.
The top and bottom horizontal red pieces of the E are 3 x 1 3/4" and the white are 1 1/2 x 3" (unfinished) and the center horizontal piece of the E is 1 1/2 x 2" unfinished.
If I do it over again, I'll add a small spacer piece between the L and the O, probably 3/4 or 1" x 6"
The white rectangle for the L is 3 1/4 x 4 1/4" and the horizontal bottom of the L is 2 x 3" |
 |
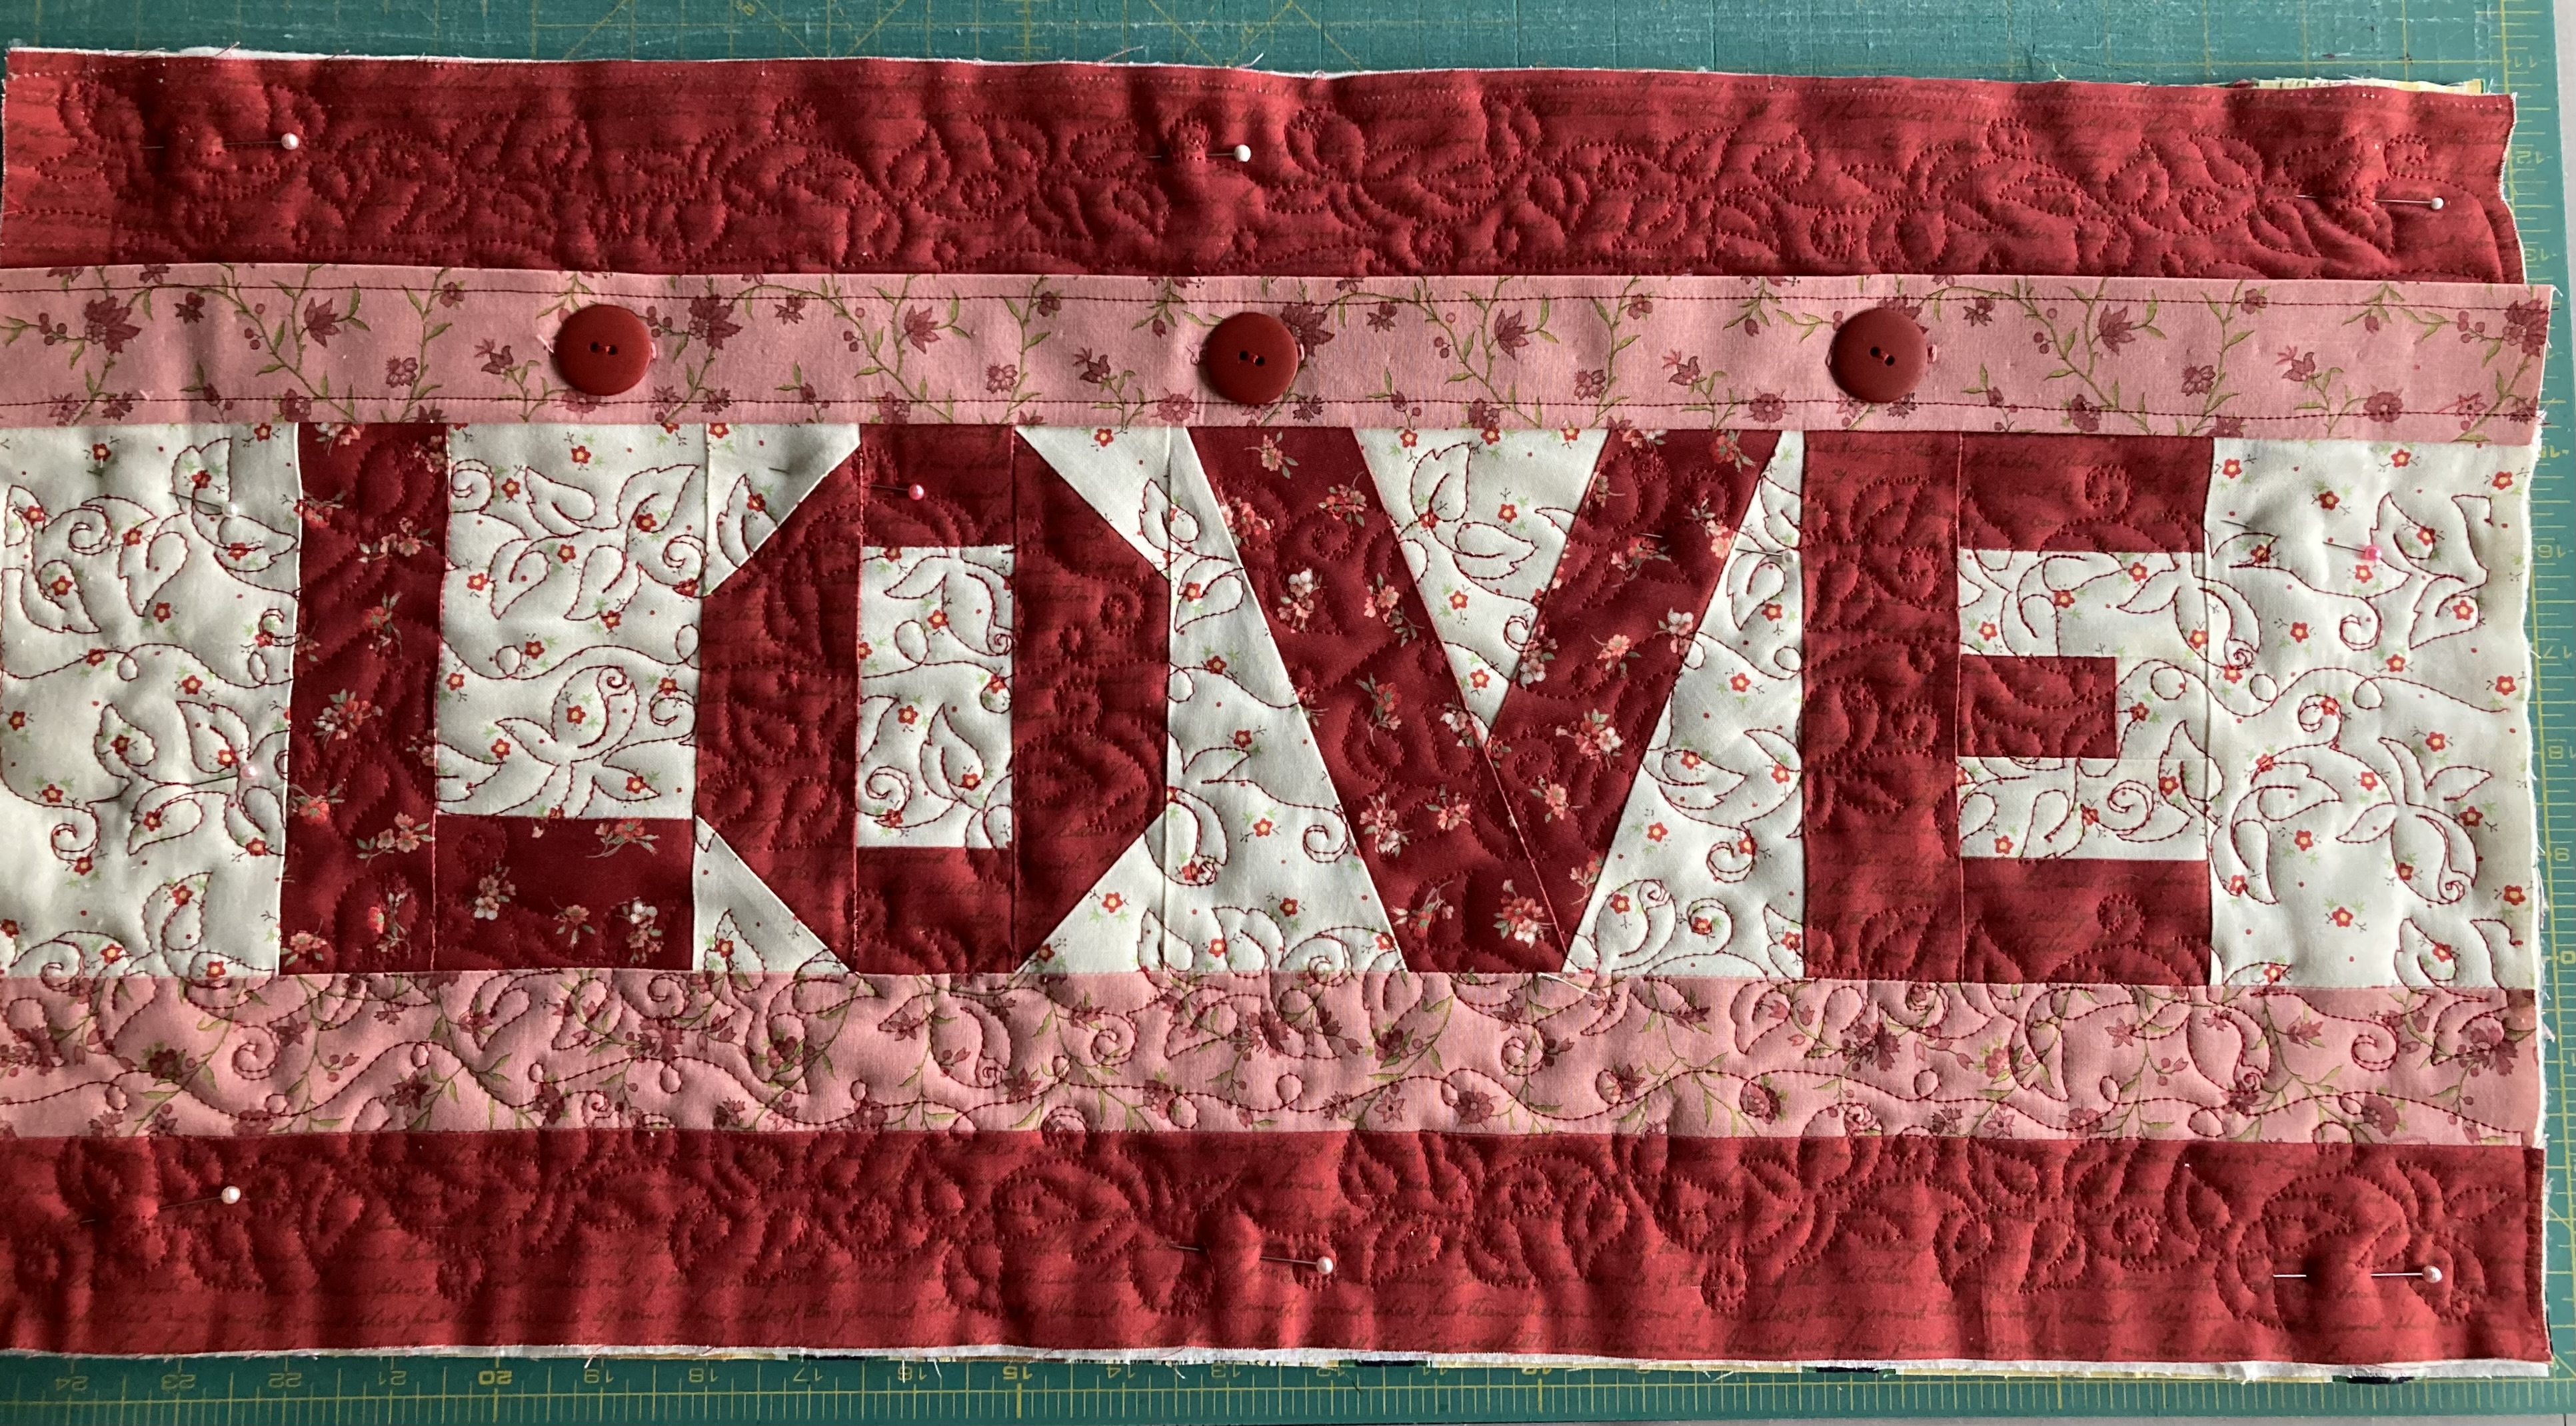
| I prefer this shape of a V so cut the angles as shown and I like how it turned out. I made a template to keep for future use. |
 |
| I had bought these perfect buttons at a quilt show a while back and wanted them to show, so made the opening of the cover on the front. The bottom peachy border is 2 x 24 1/2" and finishes to be 1 1/2" wide and the same length. Also the top peachy piece for the button holes finishes the same size but it's 3 1/2 x 24 1/2" so I could fold it in half and I added some interfacing inside. The bottom red boarder is 2 1/2 x 24 1/2 and the top red piece is 5 1/2 x 24 1/2 and has a one inch hem, before I added the buttons. |
 |
| I don't usually quilt the back of my pillow covers, but I wanted to try this free pantograph from My Creative Stitches, called Elizabeth. She has lots of beautiful designs and lots of sales. |
 |
| I didn't add any quilting to the area where the buttons are but I think I should have. |
Some Art for the white boards
 |
| white board |
 |
| more white board art |


1 comment:
What a beautiful and creative pillow with great photos to go along with the description. Well done!
Post a Comment