Sweet little baby pillow

 |
| Goes with the X quilt made for my coworker |
This is actually a pillow cover and I made a pillow to go inside


Sneak Peek
 |
| Here's a Valentine post and tutorial I'm working on. So stop by soon! |
|
| Goes with the X quilt made for my coworker |
|
| Here's a Valentine post and tutorial I'm working on. So stop by soon! |
 |
| This is from a Quilt Along from 2014. I pieced together a backing out of this reindeer flannel fabric and loaded the quilt on the quilt frame and even quilted a row. |
 |
| Big Scrappy Christmas Stars Quilt |
 |
| Little Joys Quilt Blocks |
 |
 |
| I'm linking up with Celtic Thistle Stitches Ho, Ho, Ho and on We Sew, monthly Christmas Link Up. |

 |
| I wanted my quilt for the baby to have a modern feel and created my own X design and used mostly scrappy blues and greens. |
 |
| The baby's theme is woodland animals and specifically foxes, as is popular today. This fox fabric was found at Quilt Crossings in Boise. |
 |
| Here is the label for the back of the quilt. The design is traced on with micron pen and some color added with fabric markers. The "Sweet Dreams Little one" is a free design from Nana & Co. you can find here. And her free darling pillow case tutorial is here. |
 |
| Here is a pillow case in process based on the pillow case design from Nana Co. |
 |
| I thought about creating a sleepy fox design for the embroidery, but in the end went ahead and bought this cute design from Nana Co. for $3.50 since I love it! |


 |
 |
| Here's the pattern image and if interested, you can find it here. |
 |
| While all the piecing is complete, there are still stars to applique, button eyes to sew, and embroidered faces to apply! What labor, but a labor of love! |
 |
| Since I prefer piecing to applique, I designed a new setting triangle. |
 |
| It also feels nice to finish up a second UFO, which just needed some binding! I joined the Crafty Quilter, to work on a UFO each month, but I guess if I finish more than one, that's good too! |
 |
| This patchwork quilt started when my niece, Briana stopped by with some fabric she'd just purchased. Together, we worked on her first quilt, but then it got put away for a few years and never completed. I'm excited for her to stop by and pick it up! P.S. The new blog header was made using instructions from Blissfully Domestic, and Picasa. |
 |
| I was happy to find this little quilted patchwork heart. Good time to make or finish something for Valentine's Day! |
 |
| I hoped this striped fabric would look good for the binding. |
 |
| At first I thought it was a piece of cake because I whipped it up quick, but then noticed how crooked it looked. (Top and bottom right and bottom left areas). |
 | |
|
 |
| This project was originally made last February and also has a tutorial, in case your want to make one too! |
 |
| My last minute sewing included some reversible baskets from my own tutorial here. Made with Christmas fabric, they are just perfect for some cookie decorating kits I got from Amazon for about $6 each. Now to bake some last minute cookies, if I have the energy! |
 |
| I found some stashed away, bright and colorful aprons (made from my apron tutorial here) and some dish towels to add to the baskets. |
 |
| I also made some Cinnamon bread for some last minute gifts. Make your favorite bread dough (I'll include my recipe at the bottom here). Roll out the dough. Mix 1/3 cube melted butter with 1/4 cup white and 1/4 cup brown sugar, 1 tsp flour and 1 tsp cinnamon and spread onto the dough. Take a pizza cutter and slice it up so it will fit into the pans (which you see I have standing on end) and stack into the previously sprayed or buttered pan. |
 |
| Lay the pans down and shake a bit to level out the bread dough. |
 |
| UPDATE: Place a damp towel over the pan of dough and let raise in a warm place for about half an hour. Put in the oven at 350 and bake for 45 minutes. |
 |
| Take a knife and run along the edges of the pan and the bread comes out of the pan easily. Wrap in foil and give away soon, since it's delicious when it's warm! |
 |
| This is the 2016 sew along from Quilt Doodle Doodle |
 |
| This one is made by Carole at My Carolina Home |


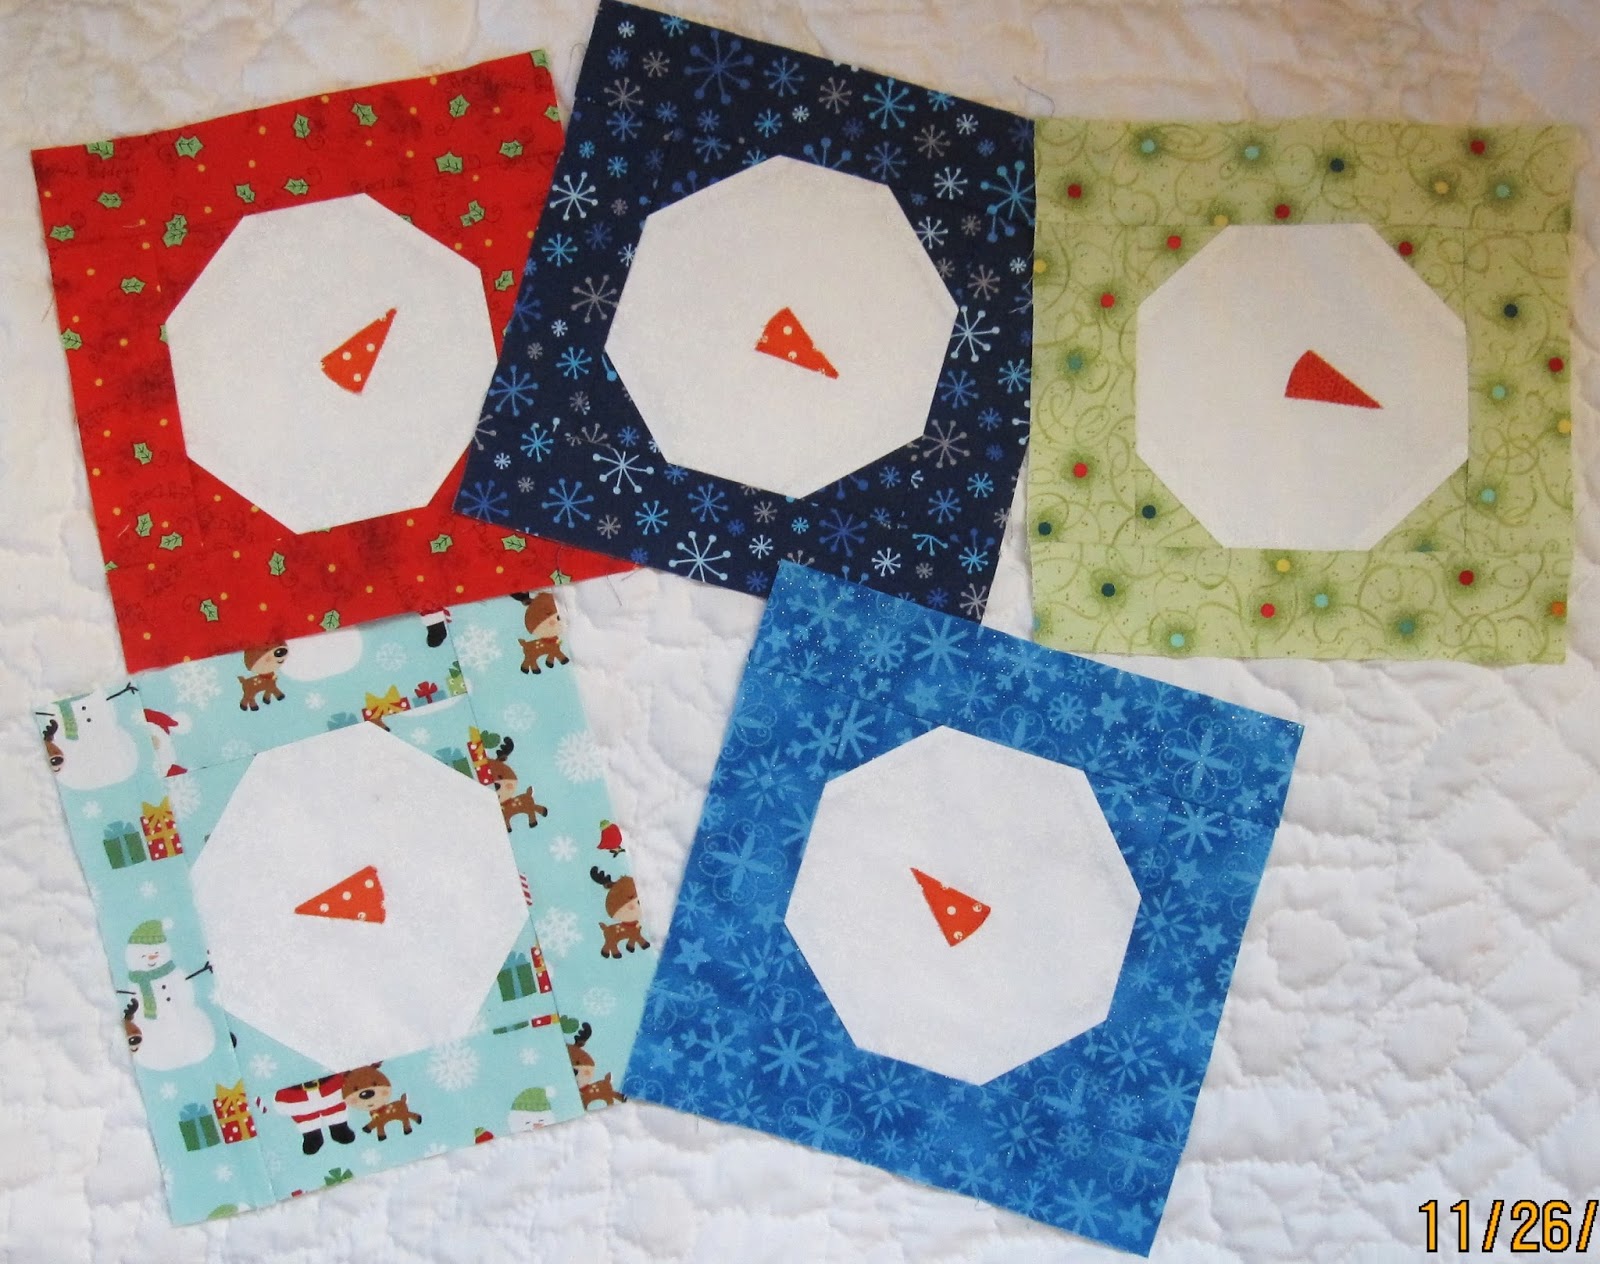 |
| The blocks come out to be 9" square and are quick to sew up. |
 |
| I made some labels using the freezer paper method (Create the message for your label on the computer word processor. Format with 3 columns and make |
|
 |
| A bit of swirl quilting prior to sewing down the binding. |
 |
| Found some fun packaging and accessories at the dollar store! |
 |
| Packaged up in these cellophane bags with packet of hot cocoa will be a sweet treat, don't you think? |
 |
| Here is the link to the free tutorial at Bee in my Bonnet in case you want to make some too. |
 |
| And I even found an apron to include for her husband because he's an excellent cook and she brings such delicious things to share! Here's the link to my simple apron tutorial. (Note: To this apron, I added a pocket, contrast bottom and contrast bias tape for finishing the edges which I don't show in my tutorial) |
 |
| And I even found a card that I stamped in the past that became a cute birthday card! |
I made a couple of these to give as gifts. See the links for some instructions I used the Moda Block Heads 3 block by Lissa Alexander and I...


